This guide will walk you through the process of creating a postcard mailing list via CSV using the Intelliprint software.
Go to dashboard.intelliprint.net
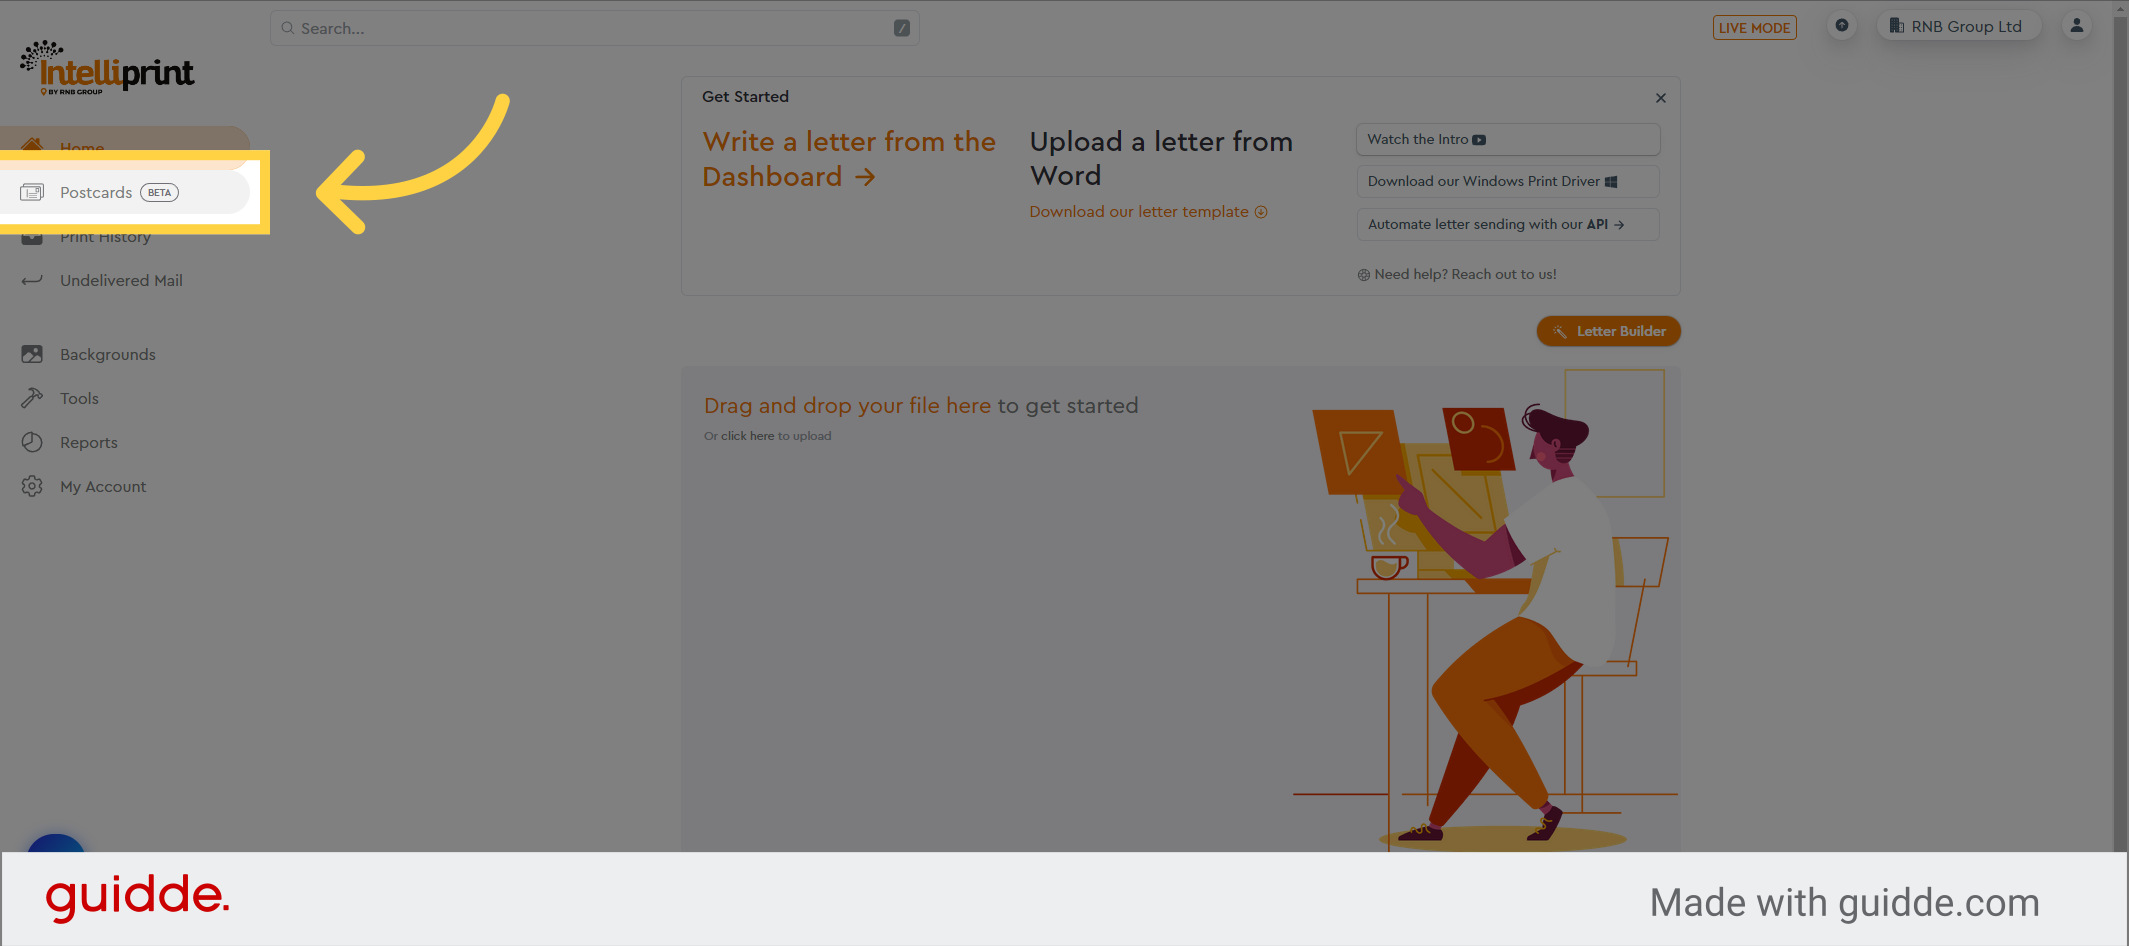
1. Click “Postcards”
Access the Intelliprint dashboard and navigate to the Postcards feature.
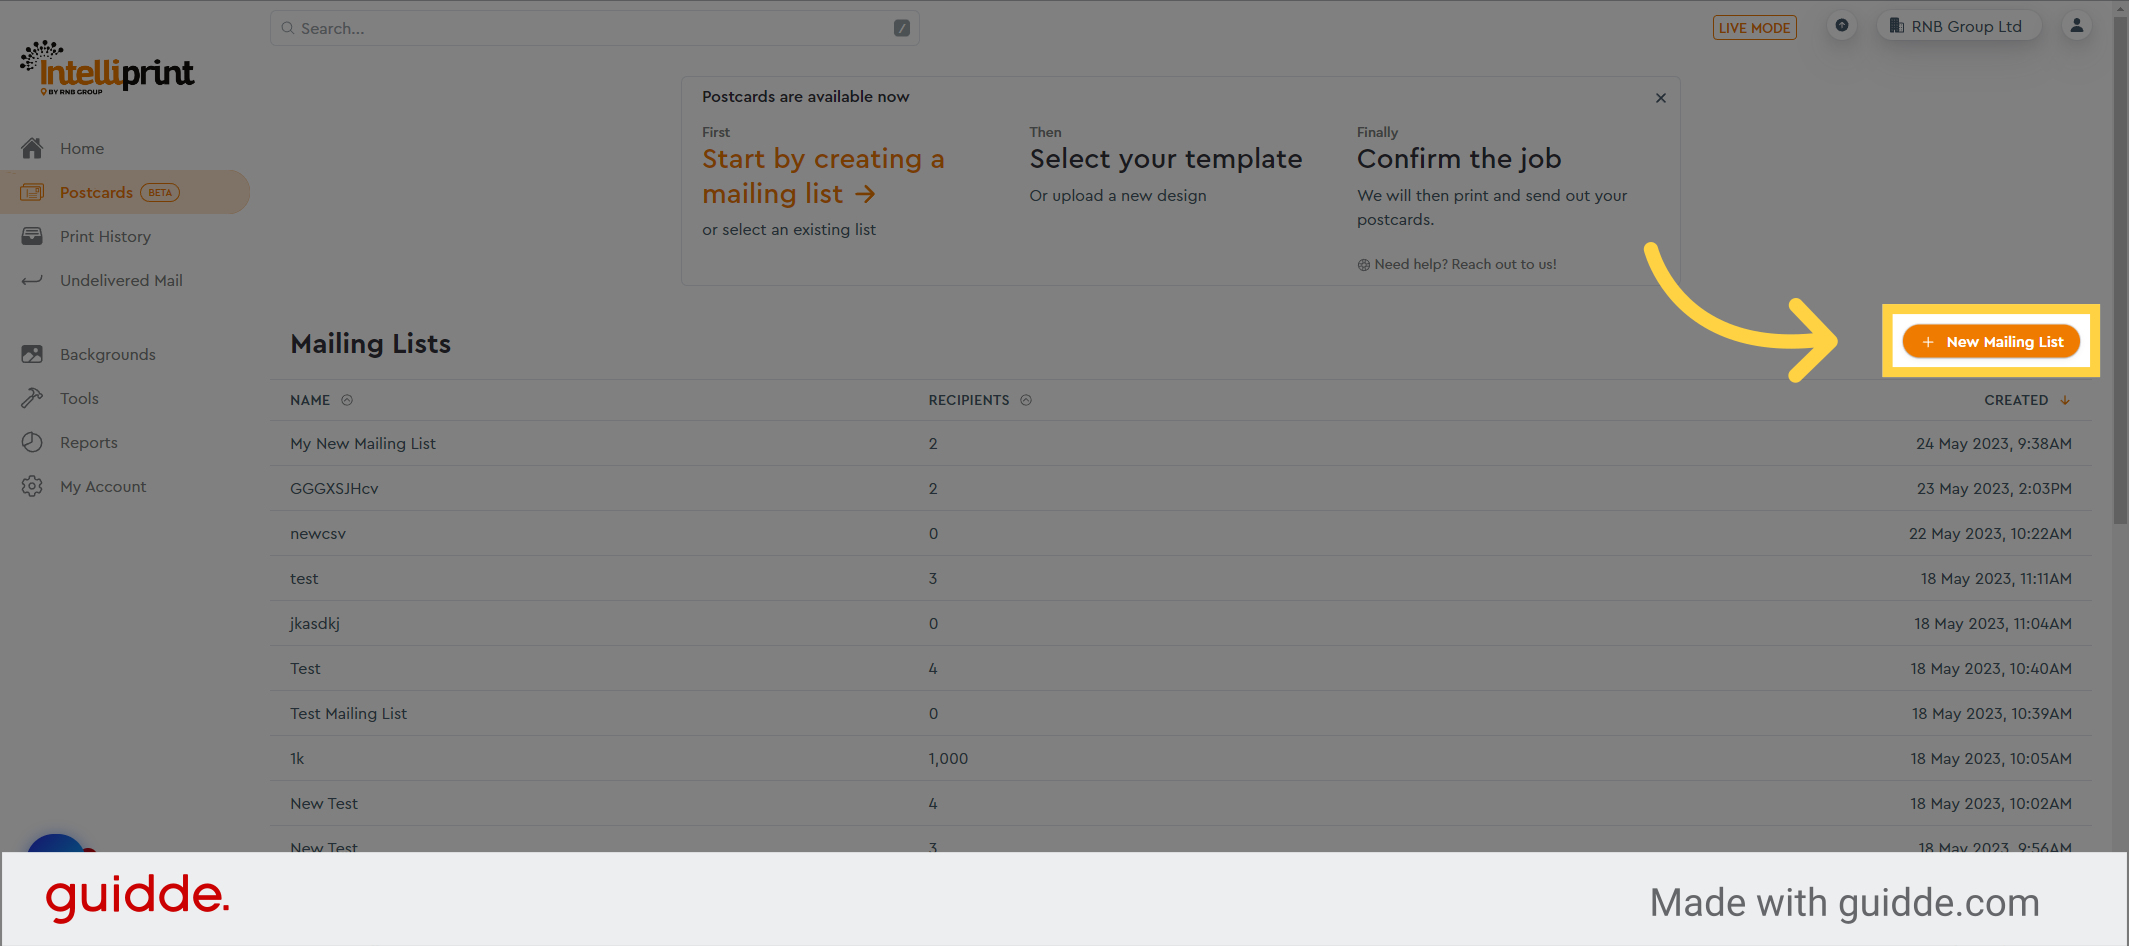
2. Click “New Mailing List”
Initiate the creation of a new postcard mailing list by selecting the “New Mailing List” button.
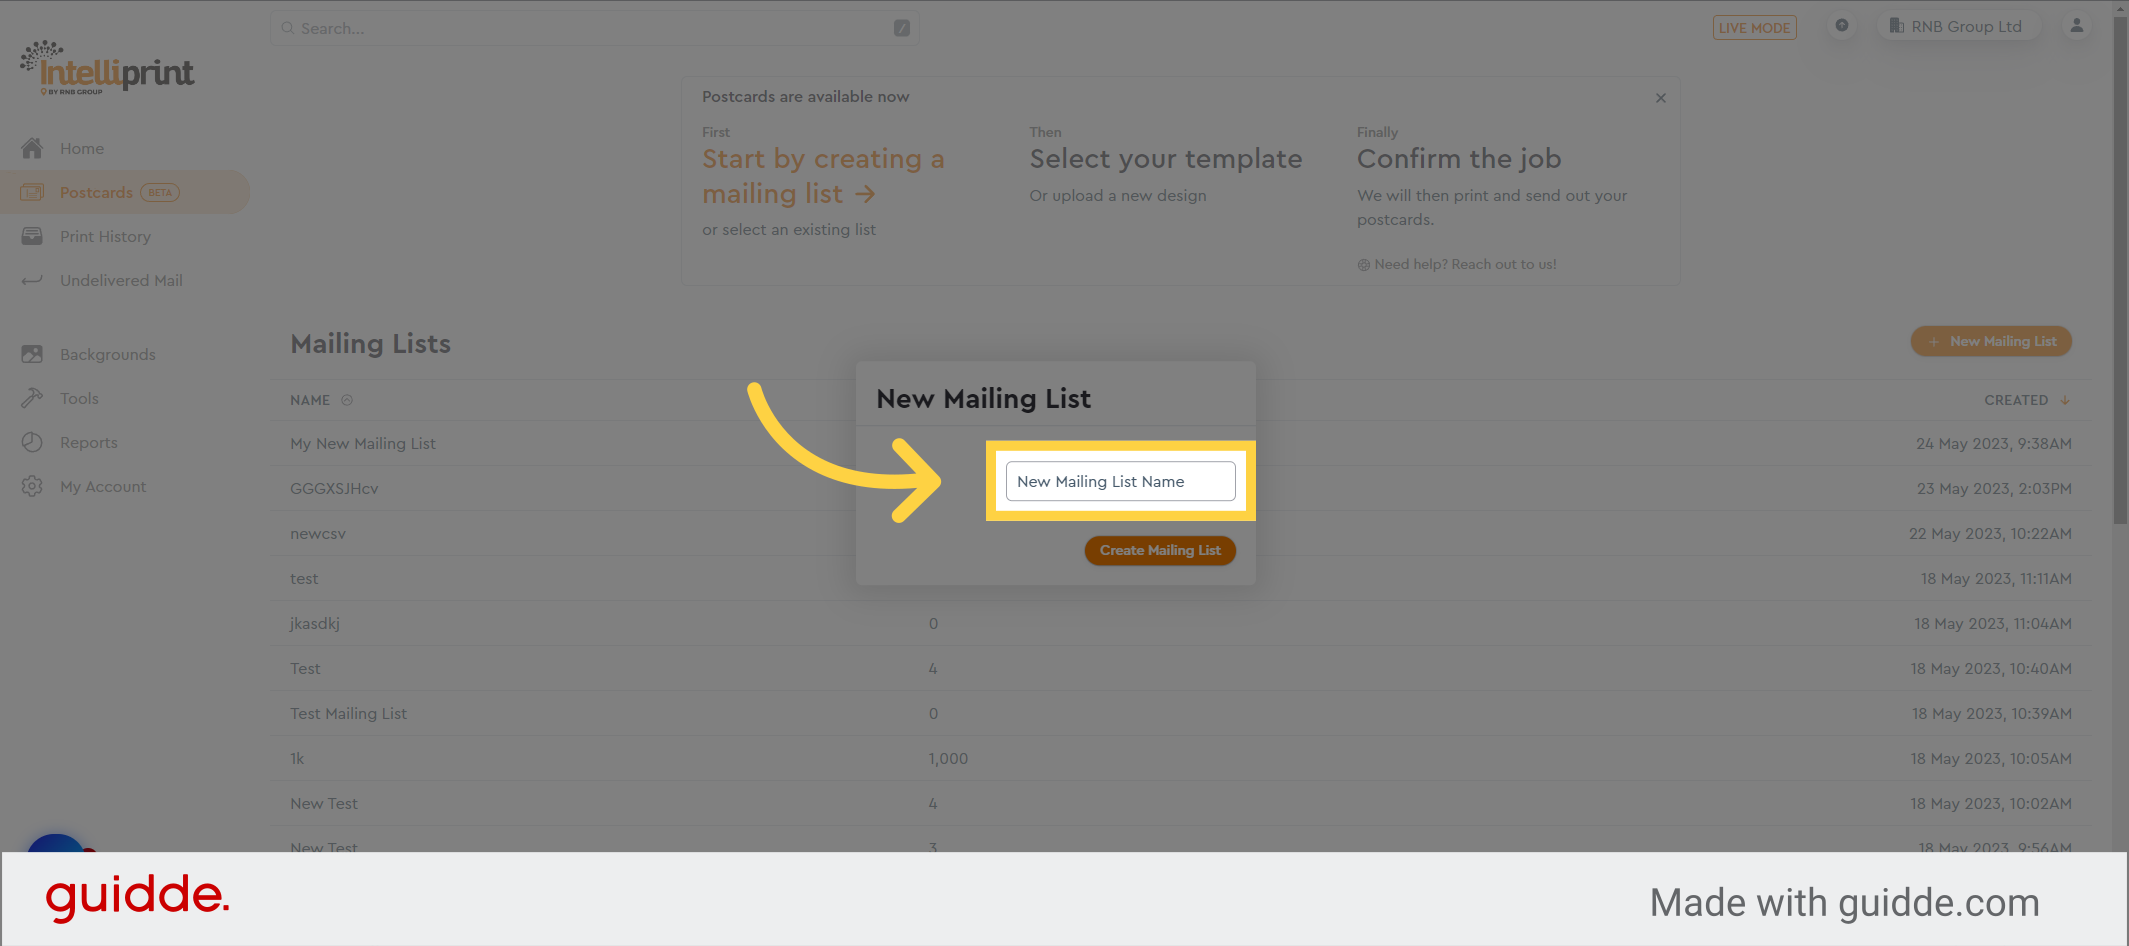
3. Name your new mailing list
Provide a meaningful name for your newly created mailing list.
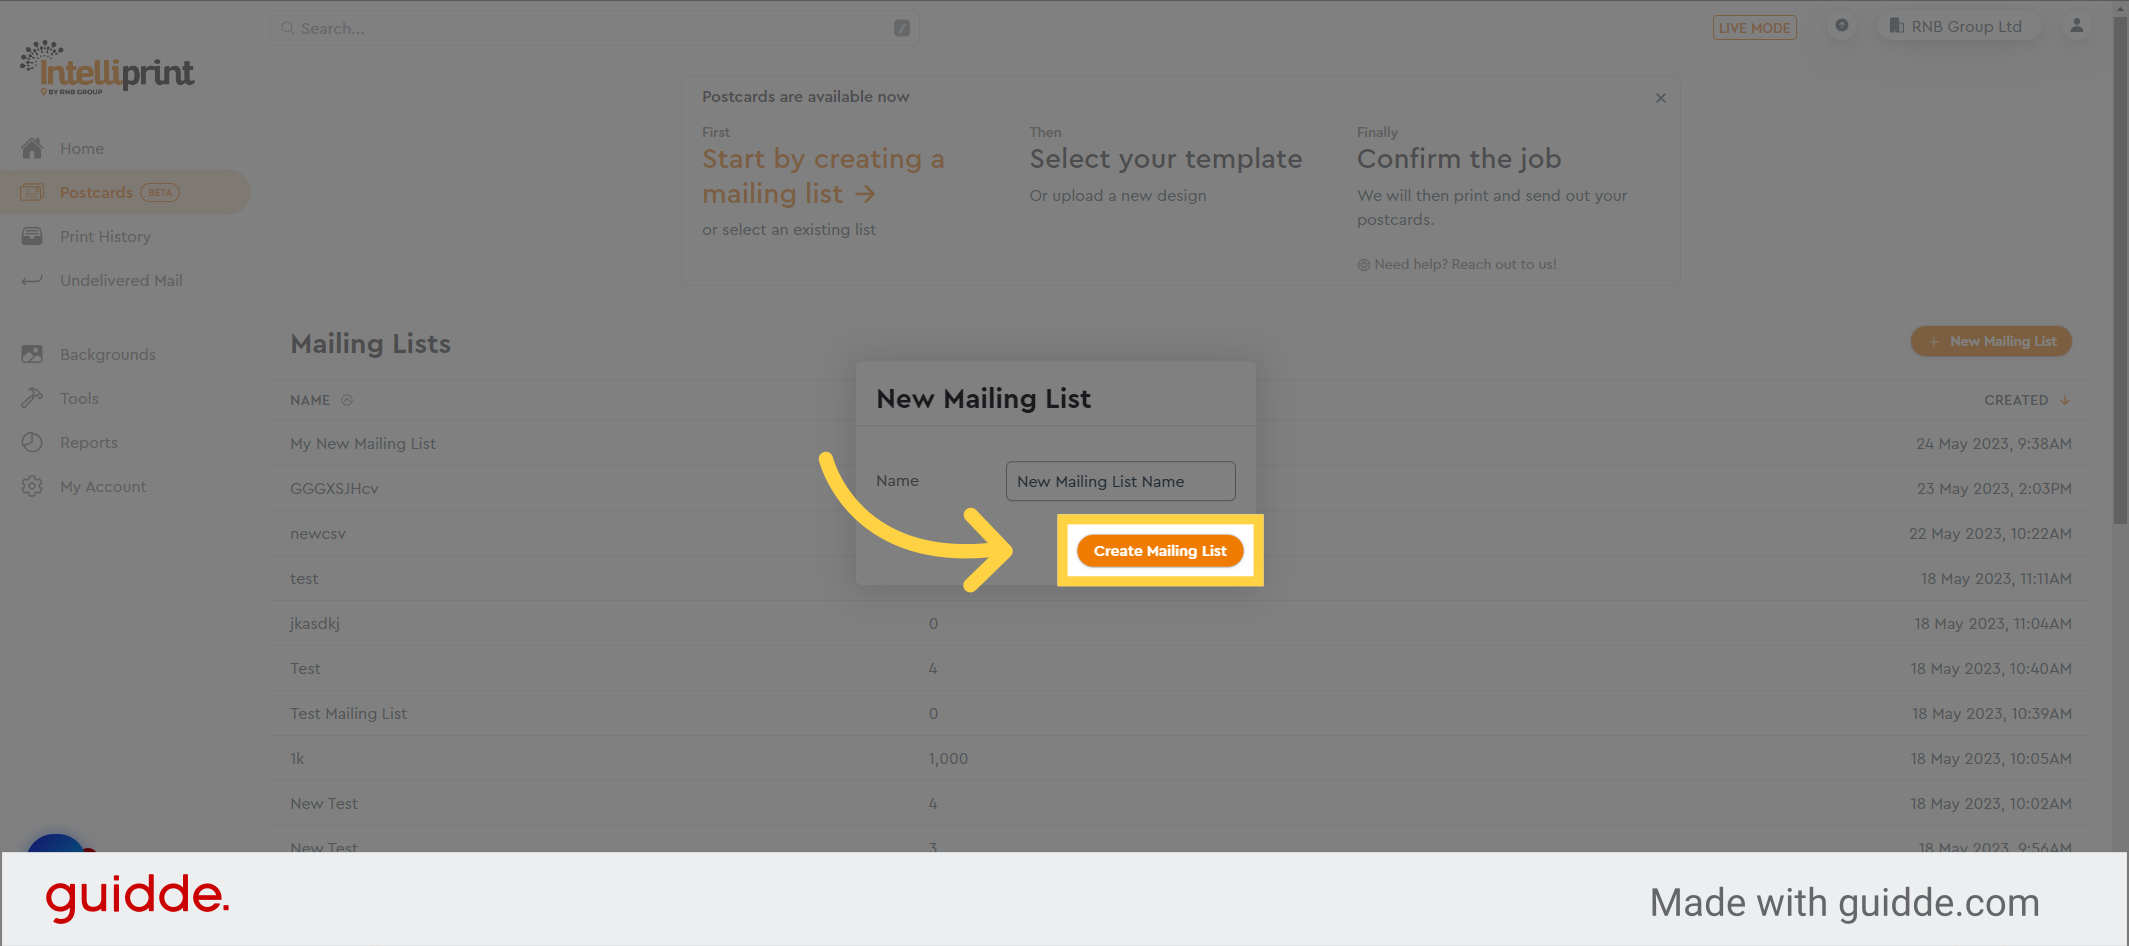
4. Click “Create Mailing List”
Click here to create the mailing list with the provided name.
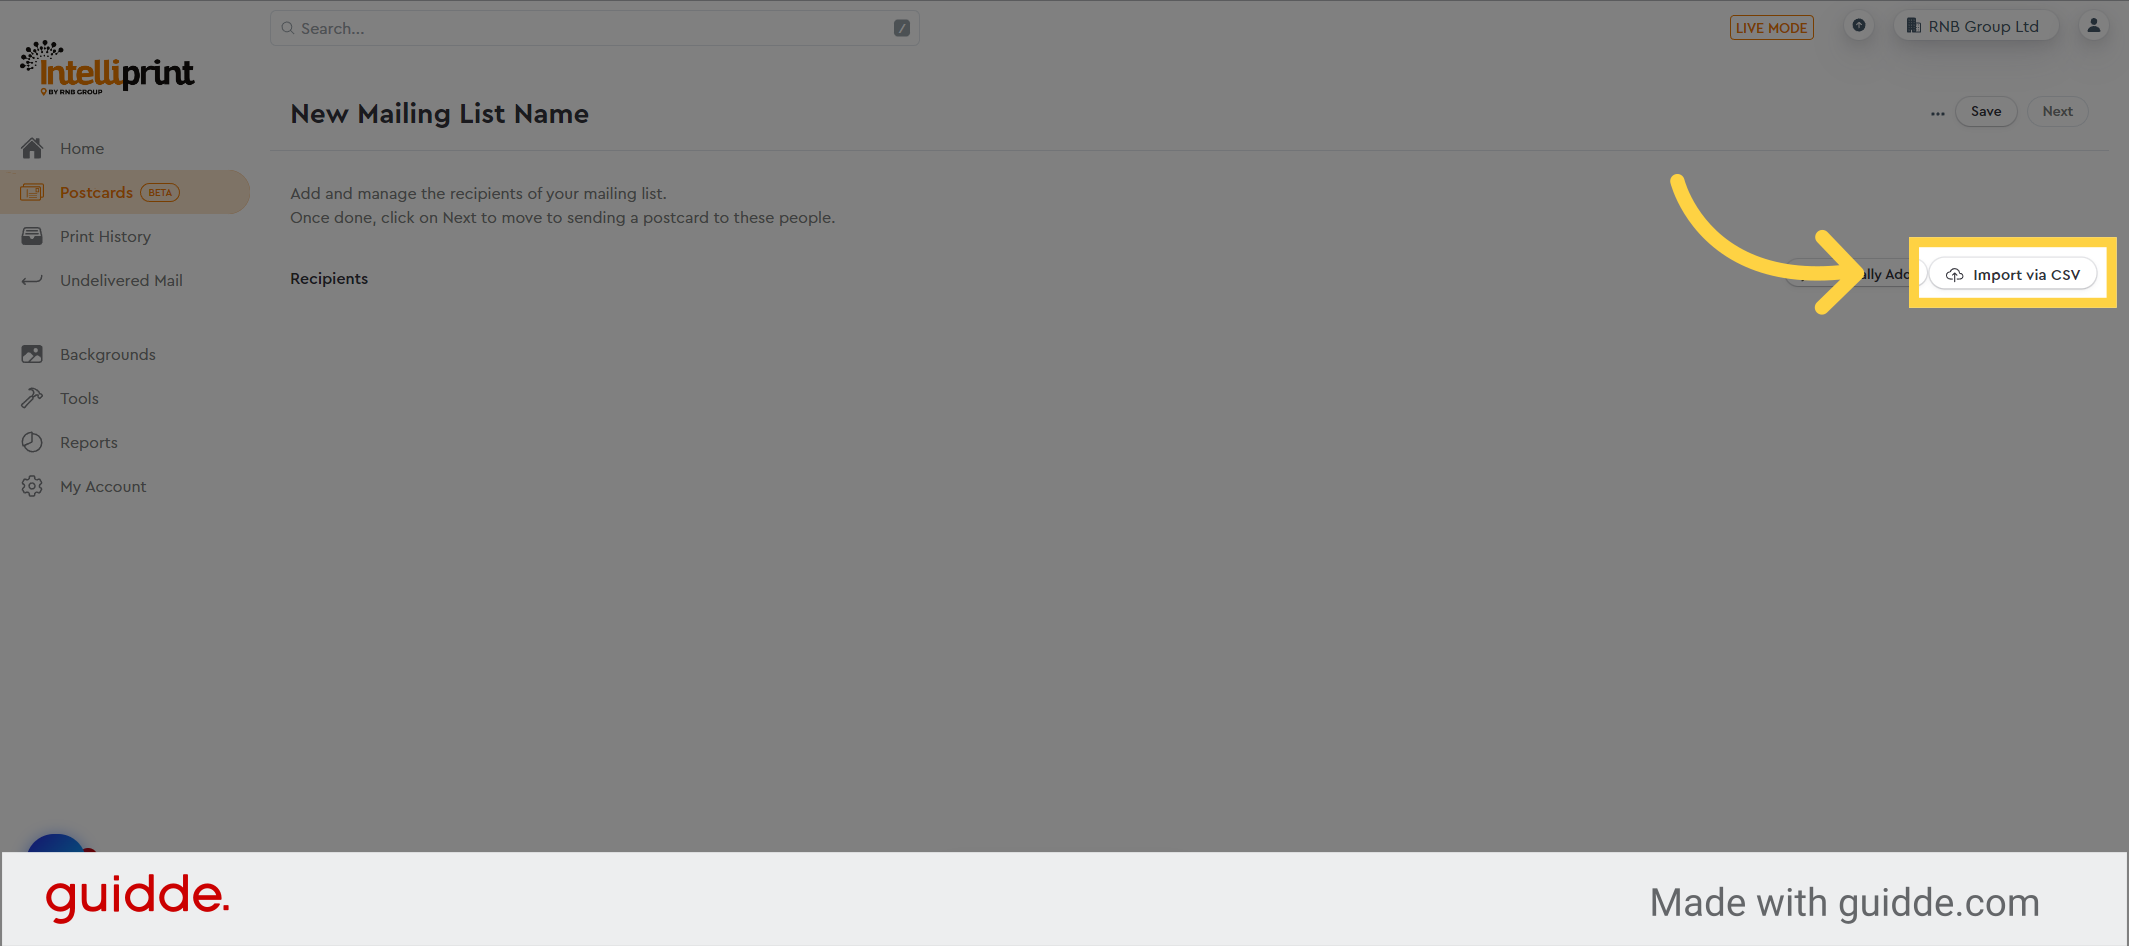
5. Click “Import via CSV”
Select the option to import from a CSV file.
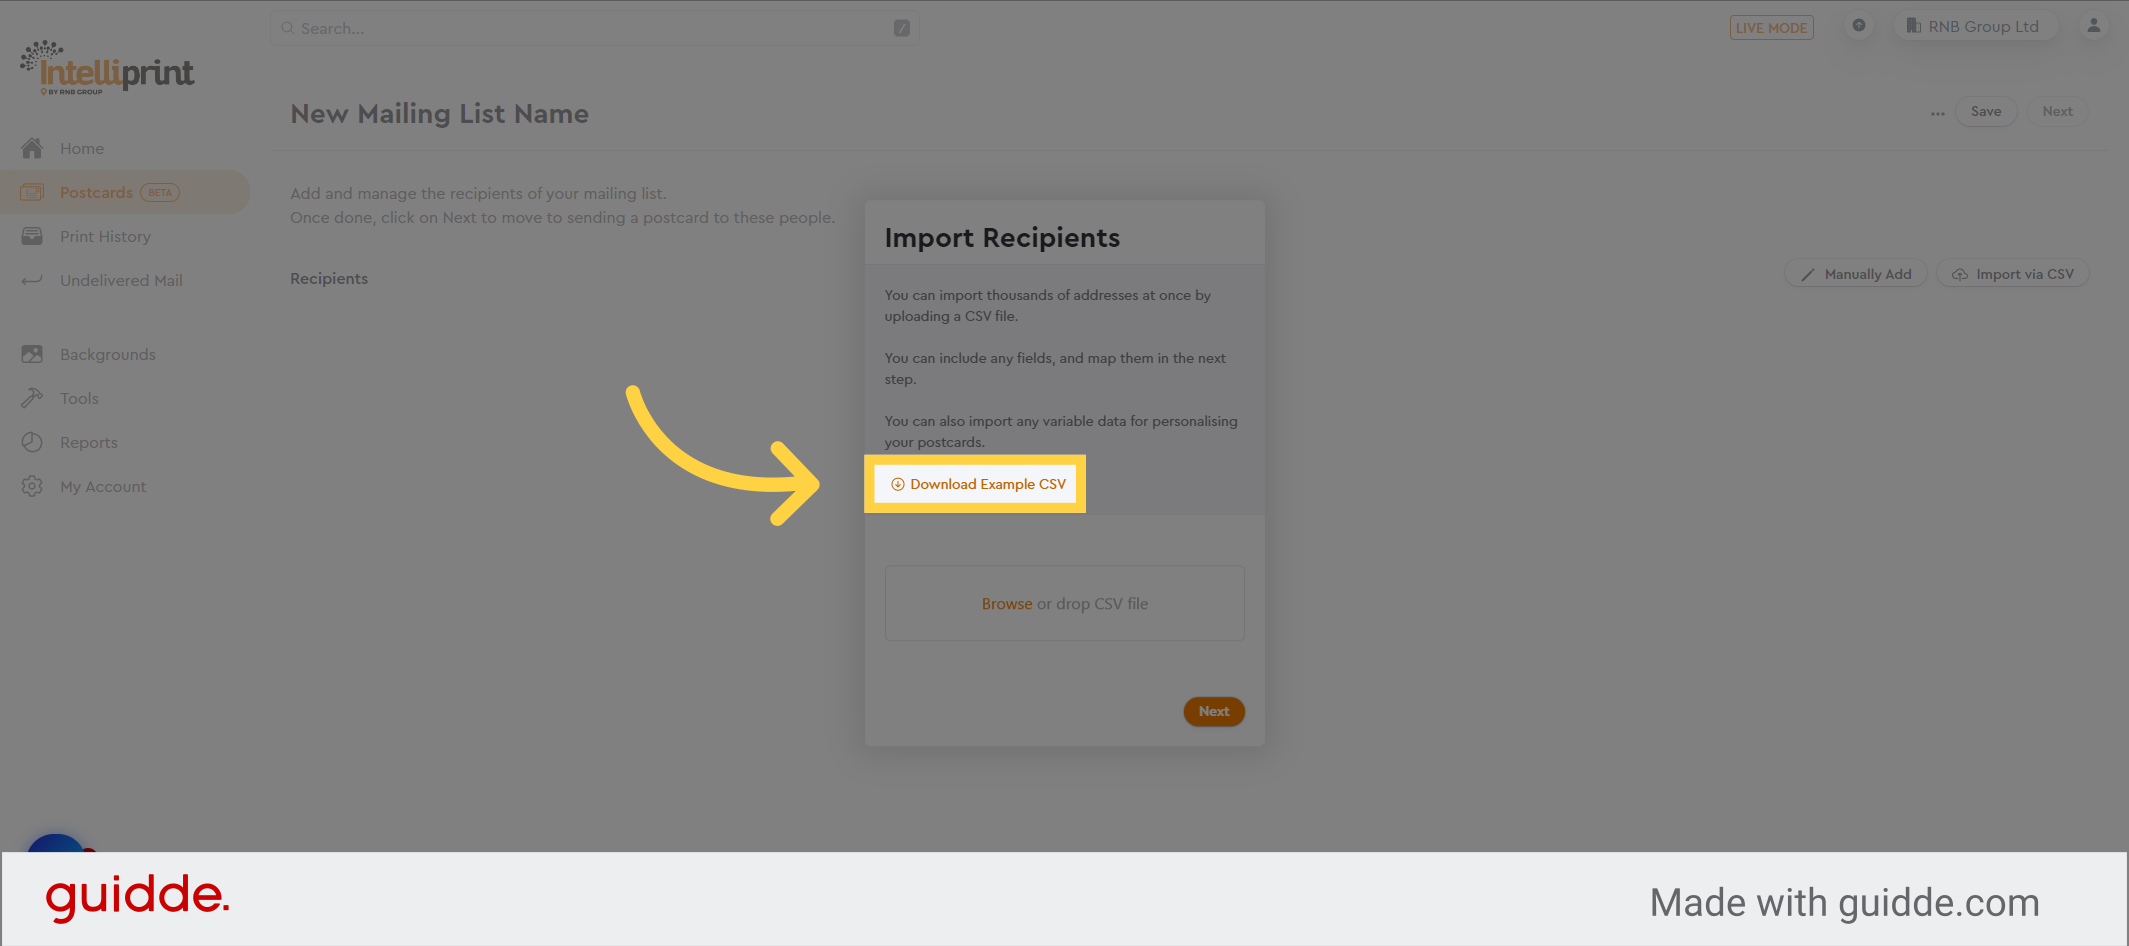
6. Click “Download Example CSV”
To obtain an example CSV file, click on the provided link.
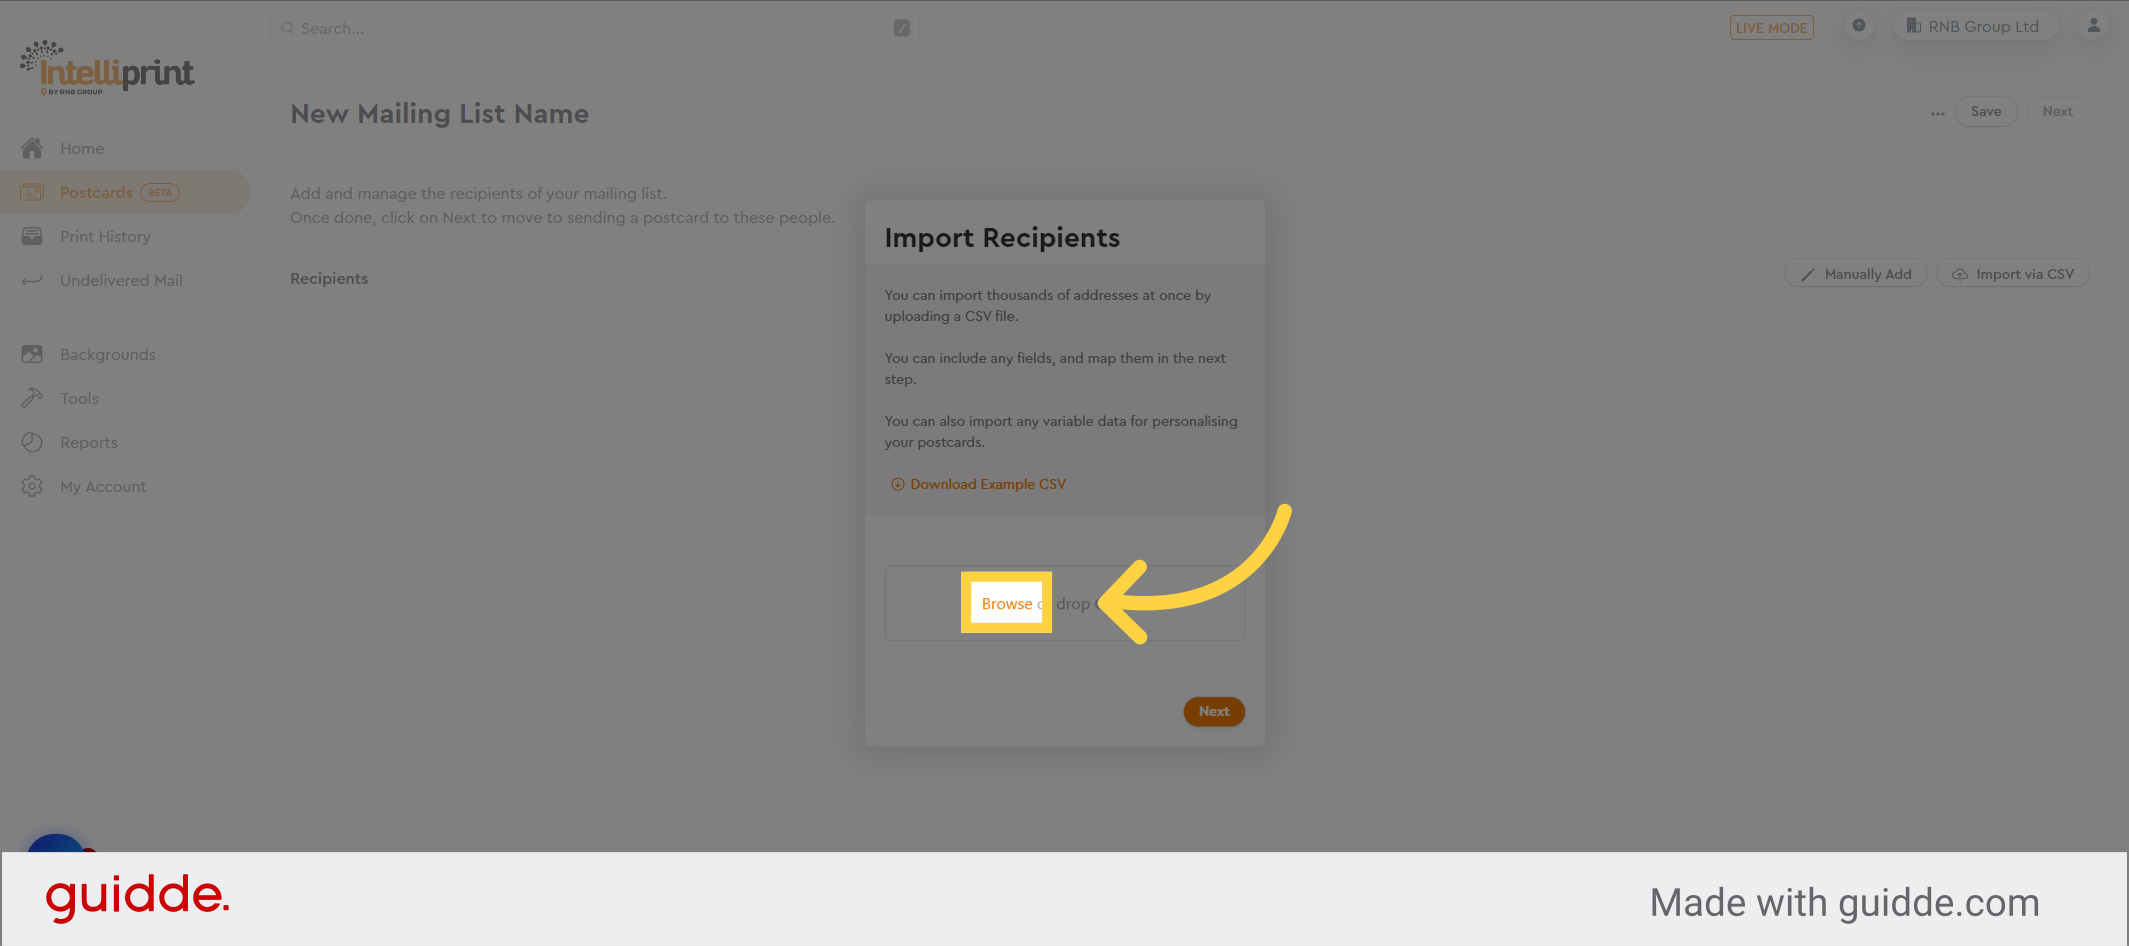
7. Click “Browse”
If you have already prepared your CSV file, select the “Browse” option
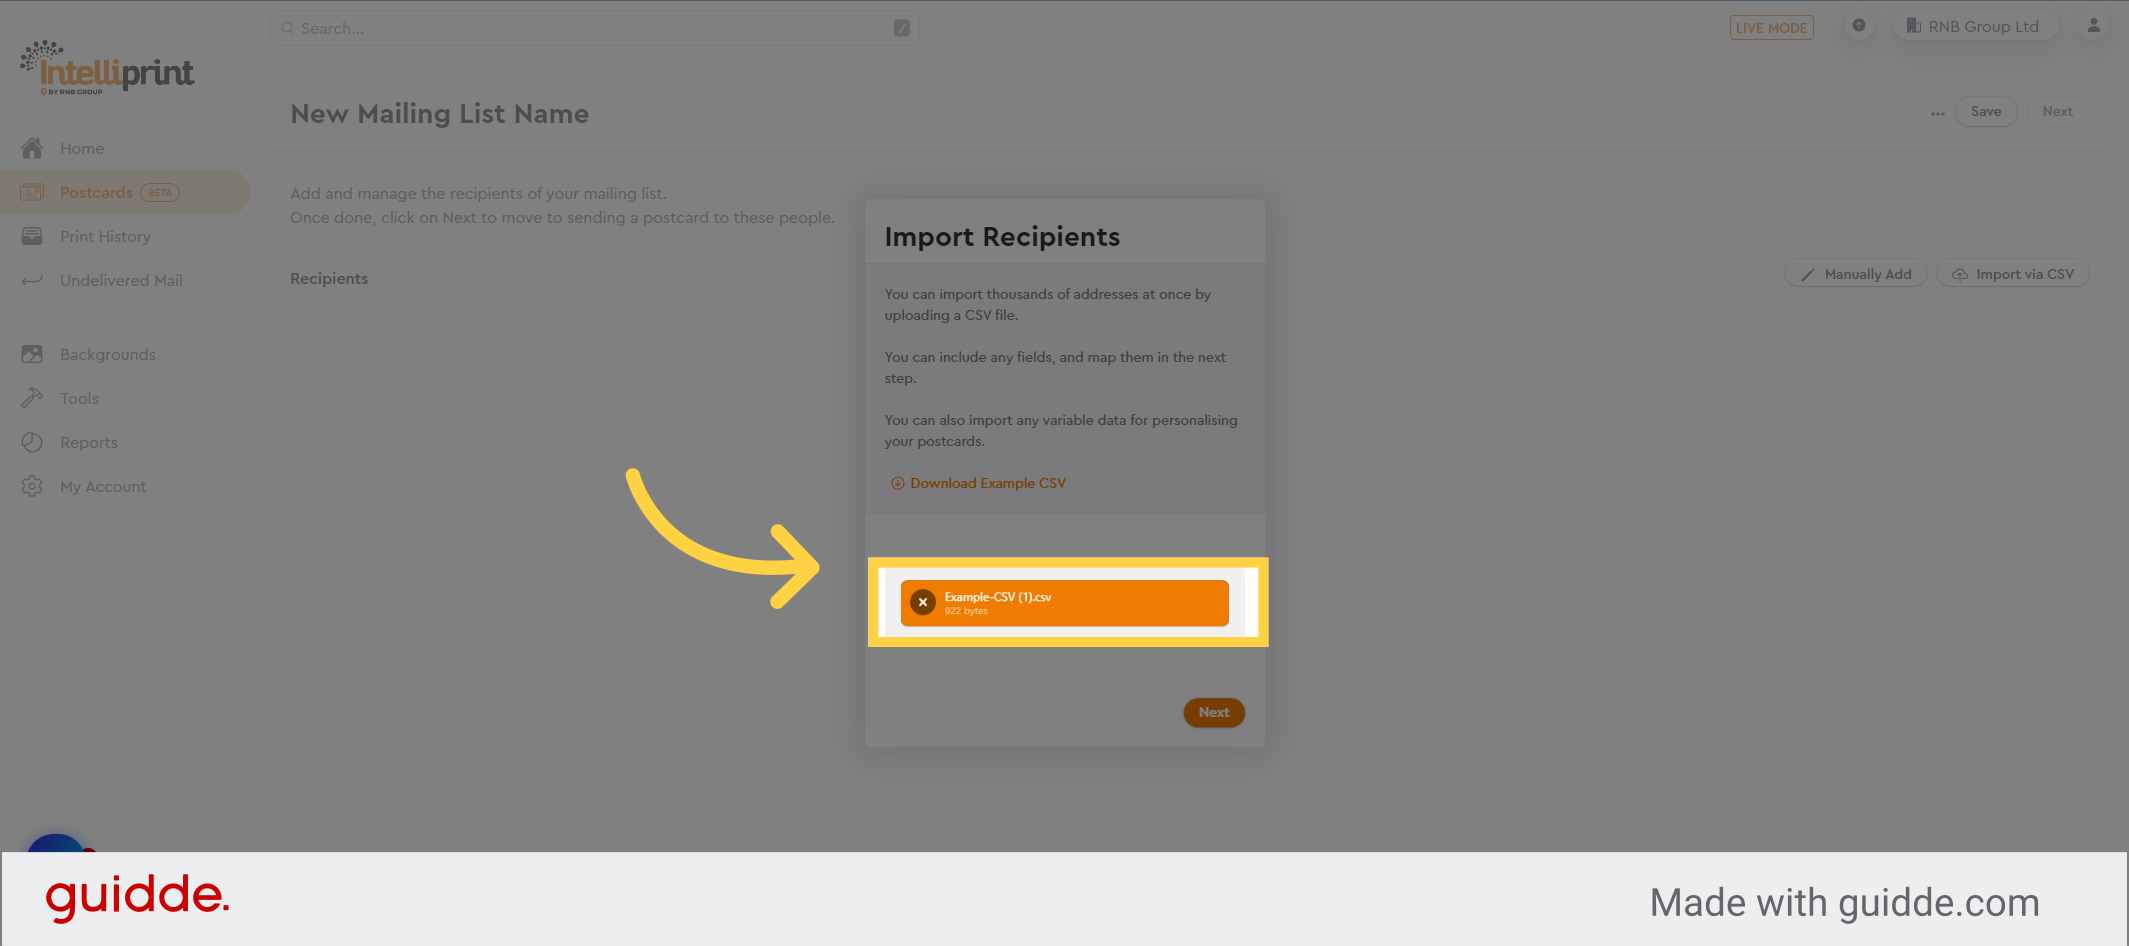
8. Check the file is correct
Select the CSV file from your computer.
9. Click “Next”
Click on the next button to begin importing the csv file
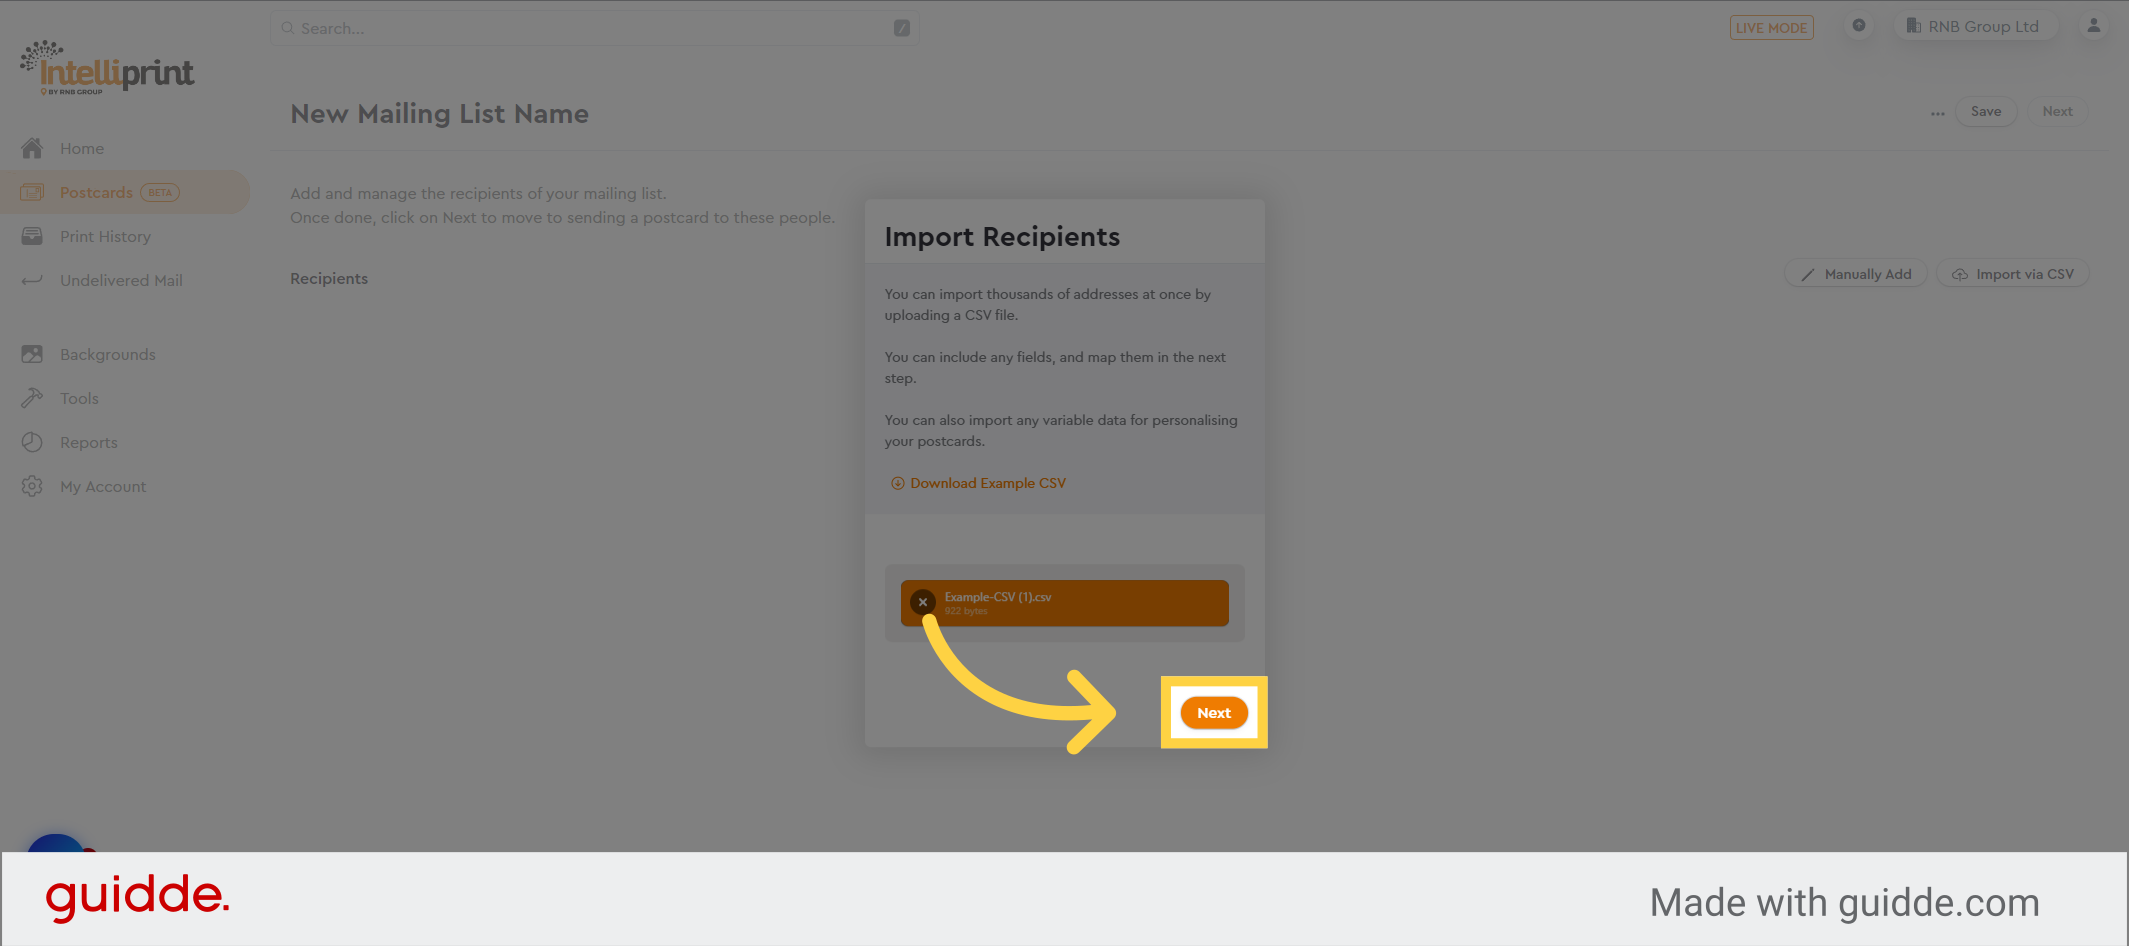
10. Choose what fields you want to import from your csv
Select the fields to import from the CSV file. Our system will automatically attempt to match the fields, and the matched fields will be displayed in bold.
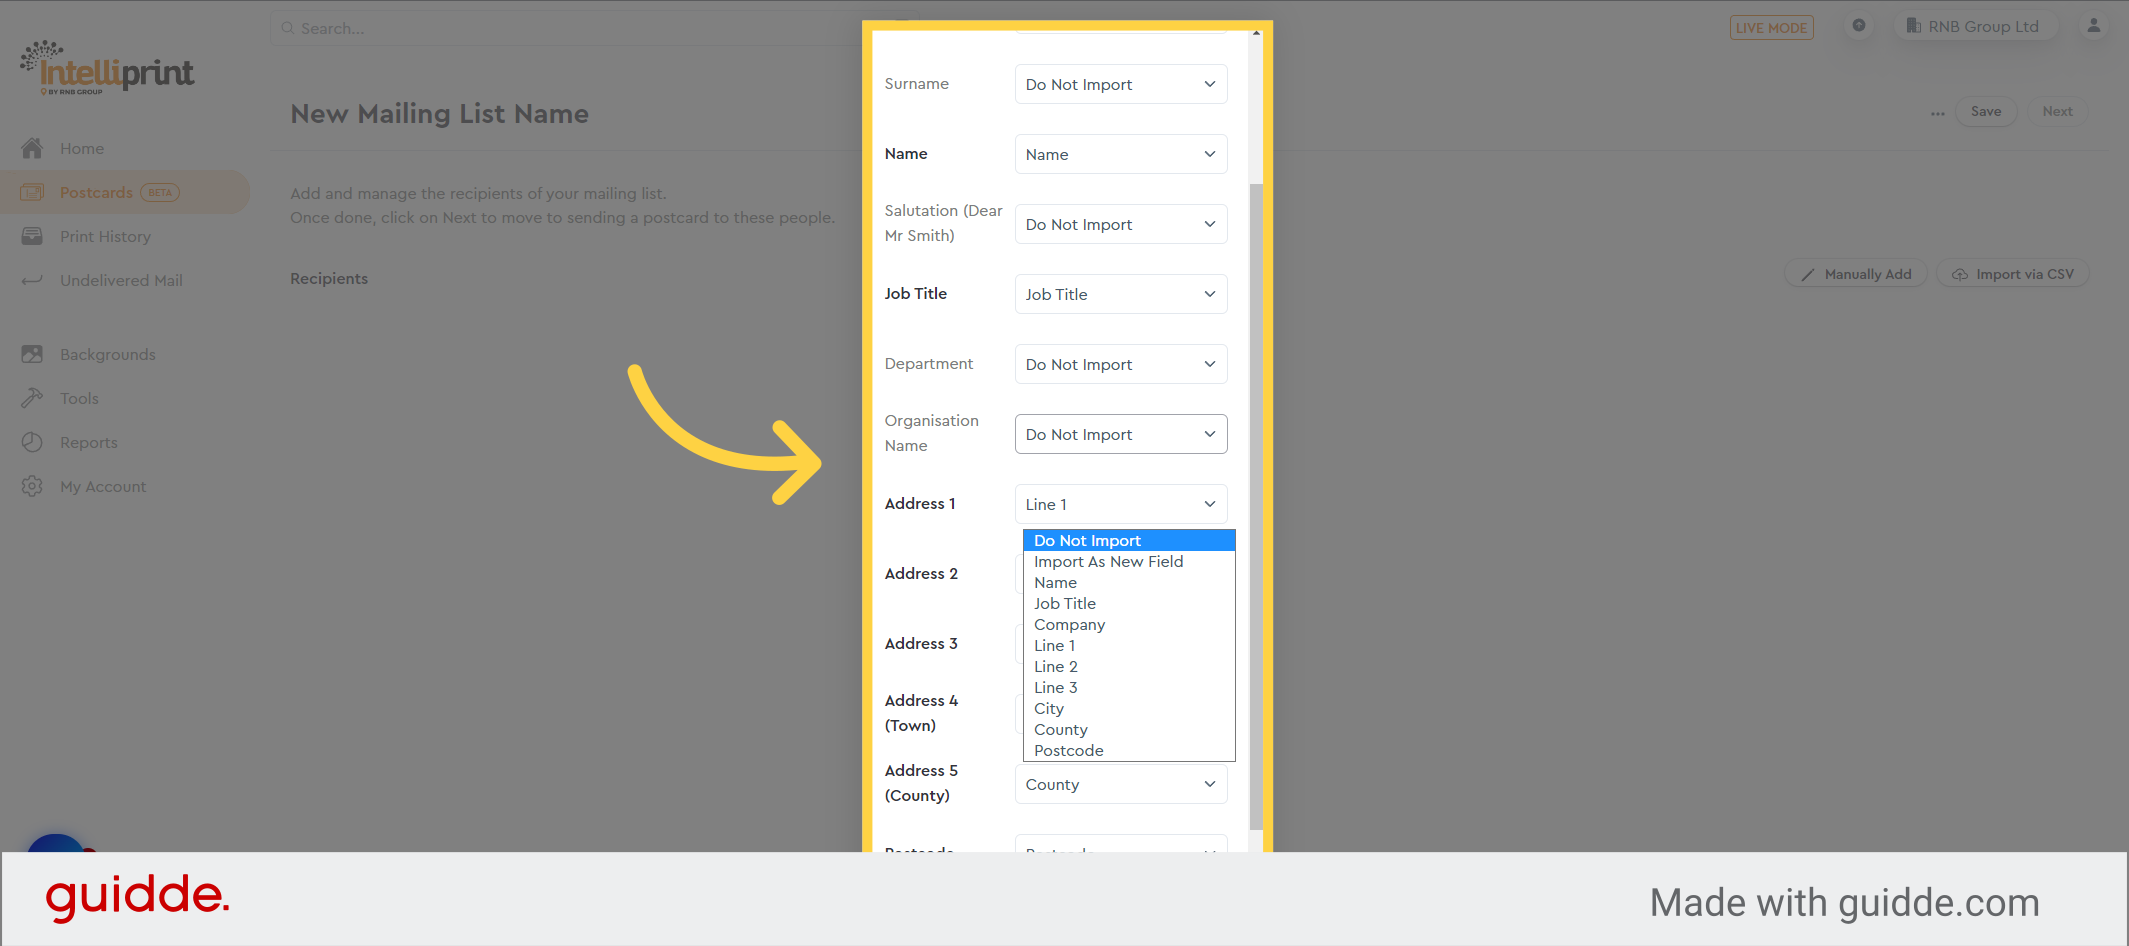
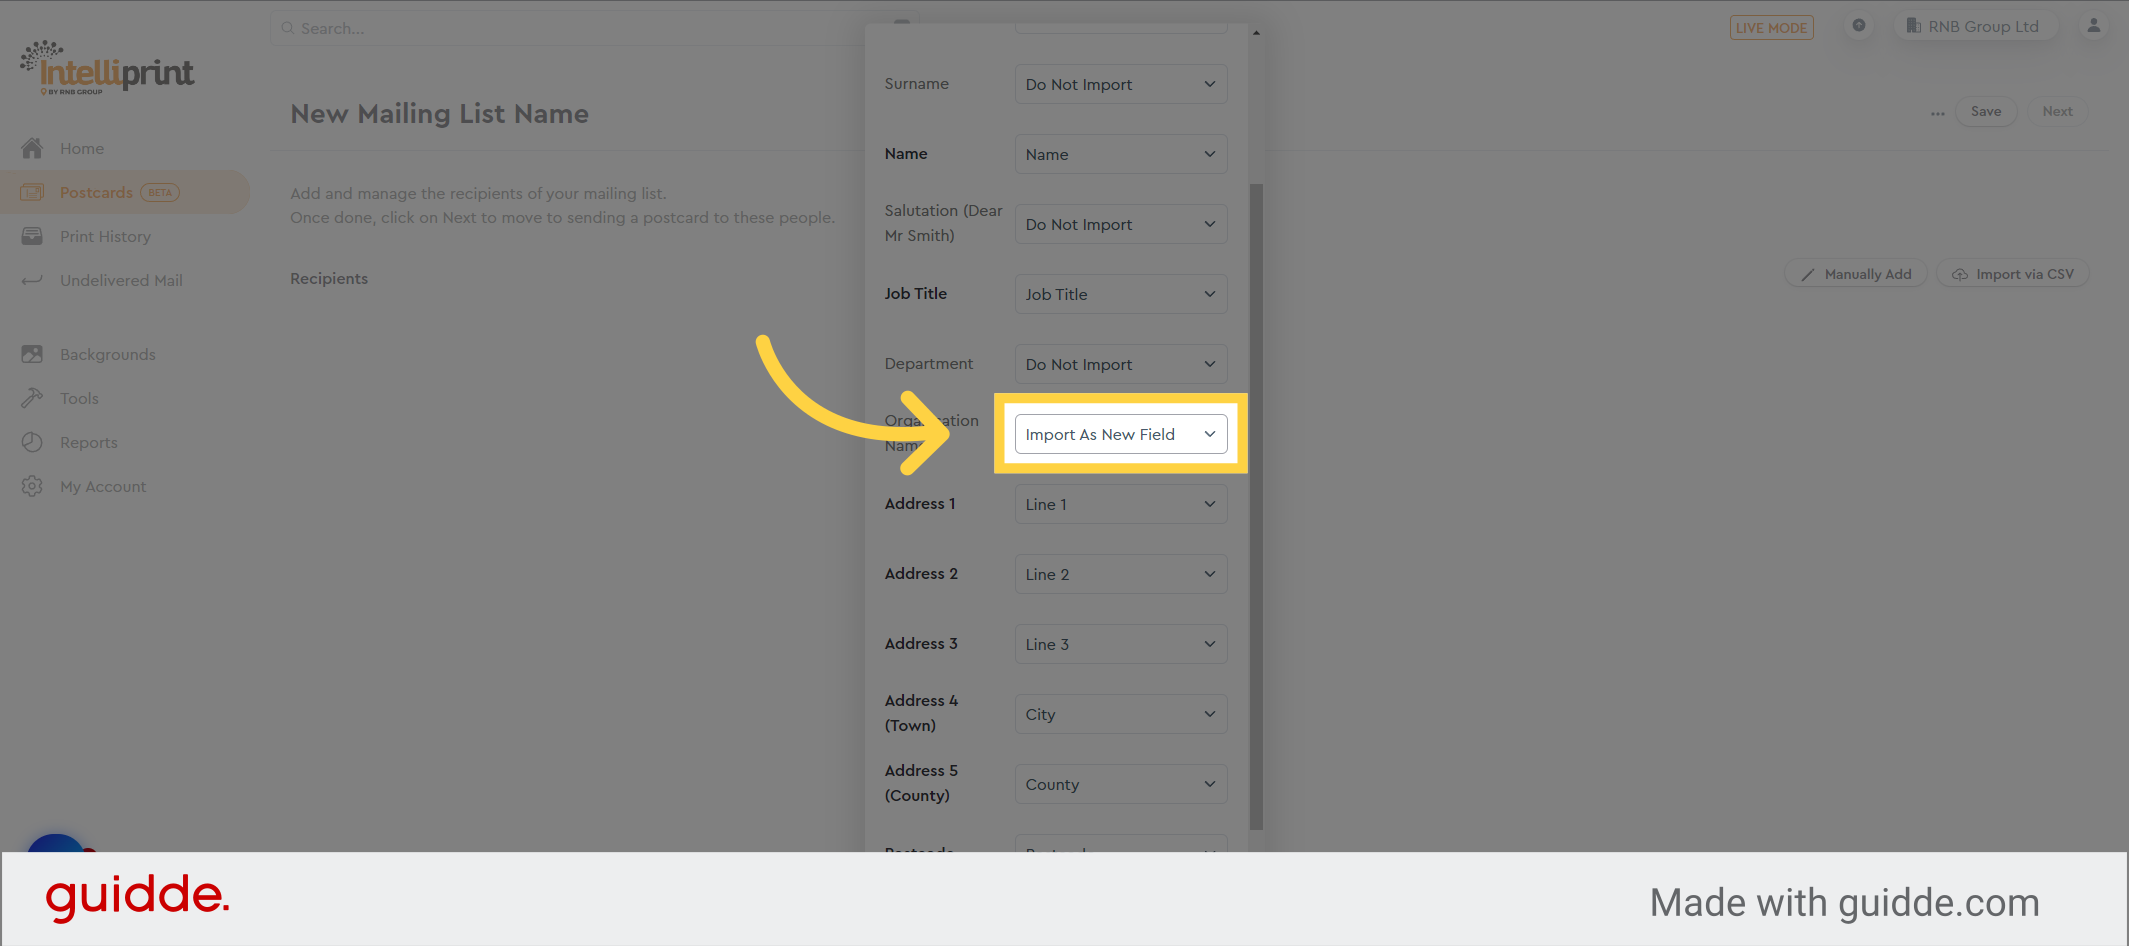
11. We will set any unmatched fields to “Do not import” but you can change this to “Import as New Field” if you wish to use this field in your design.
Any unmatched fields will be set as “Do not import” by default, but you can choose to change this to “Import as New Field” if you want to utilize that field in your design.
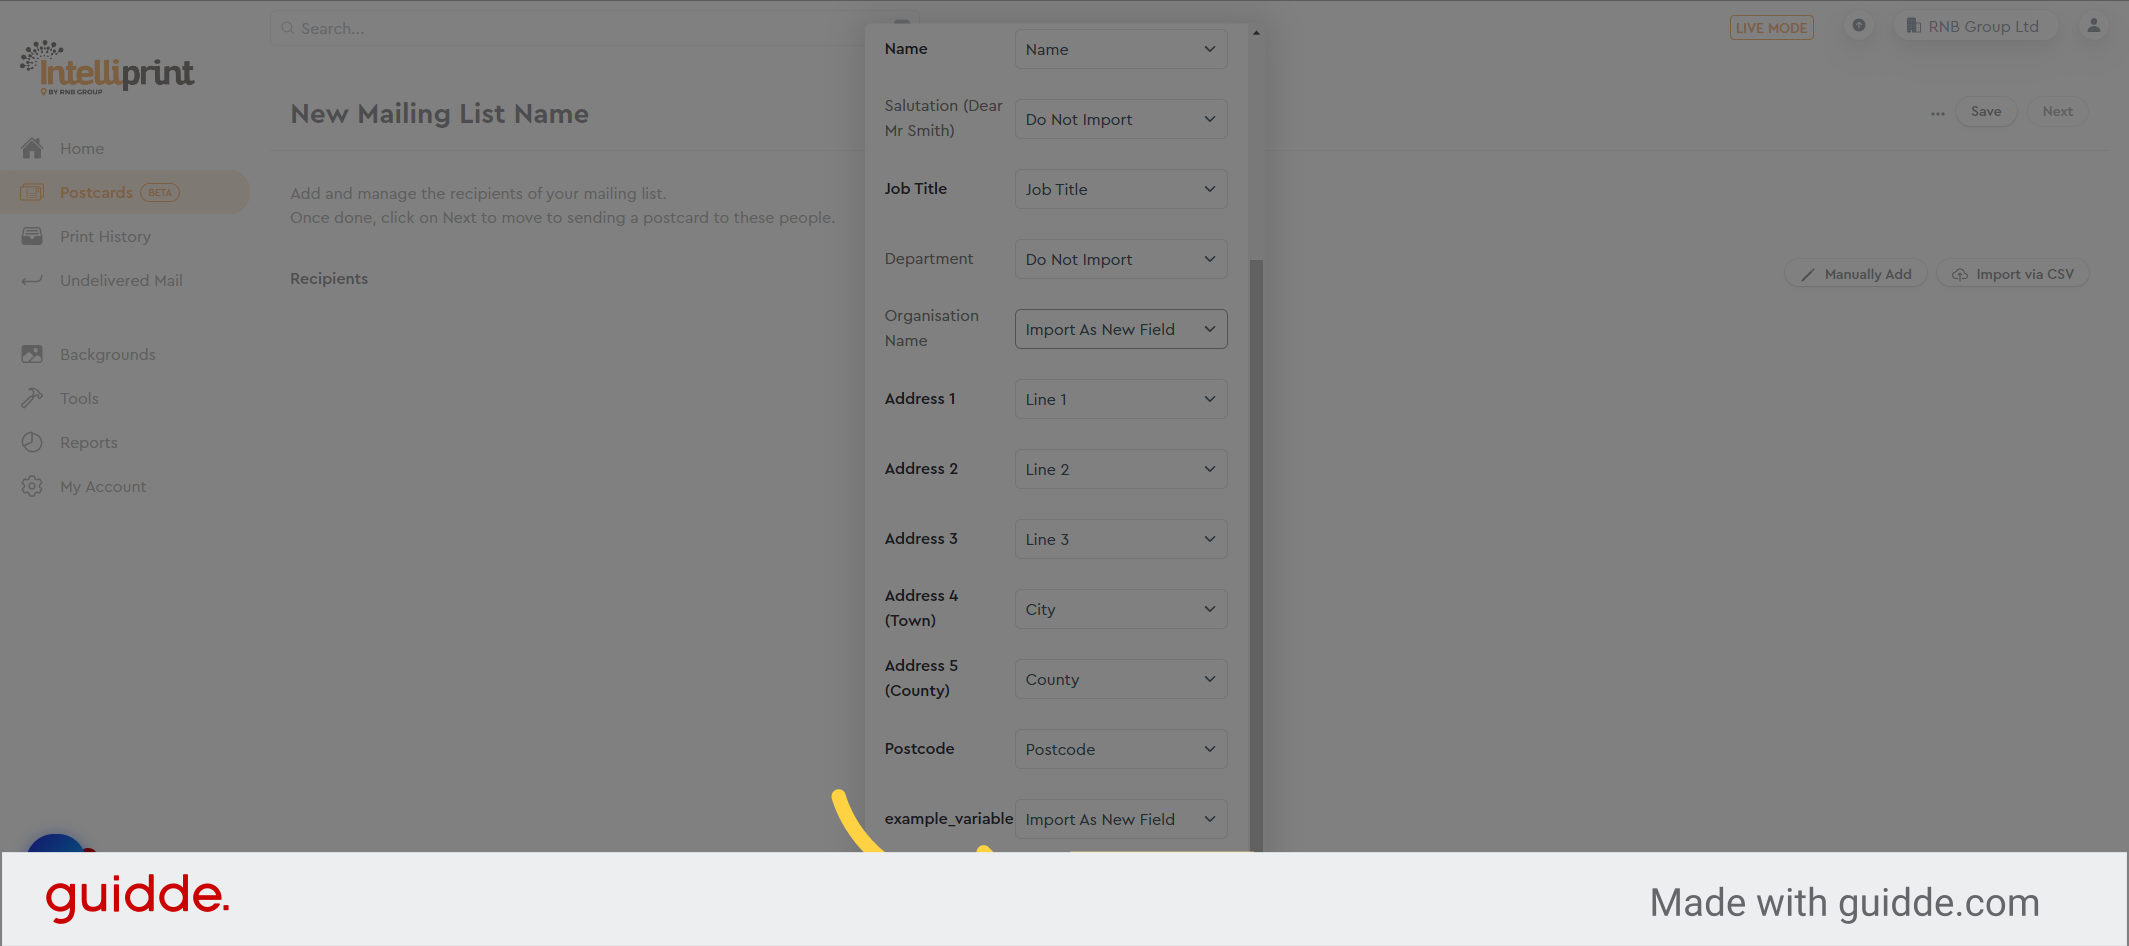
12. Click “Confirm Import”
Once you are prepared, confirm the import of the data from the CSV file.
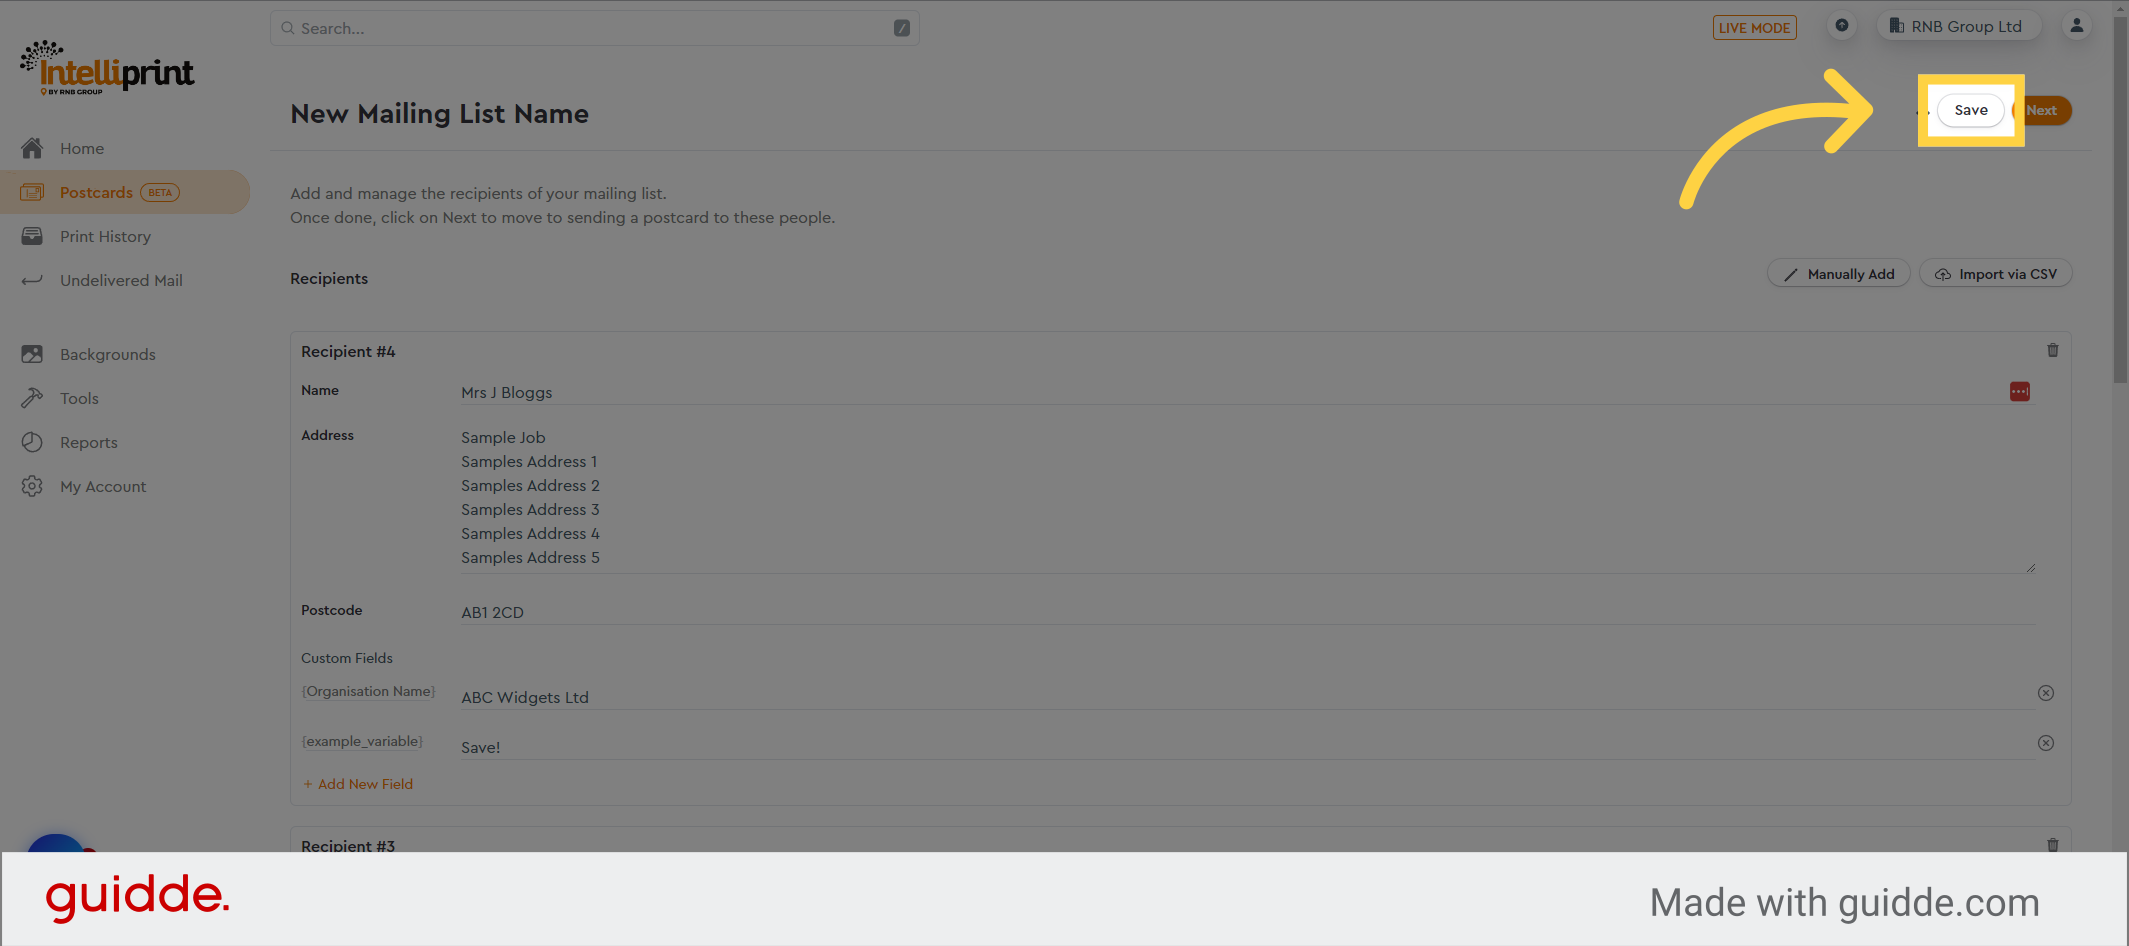
13. Click “Save”
Click on the Save button to store the newly added addresses in your mailing list.
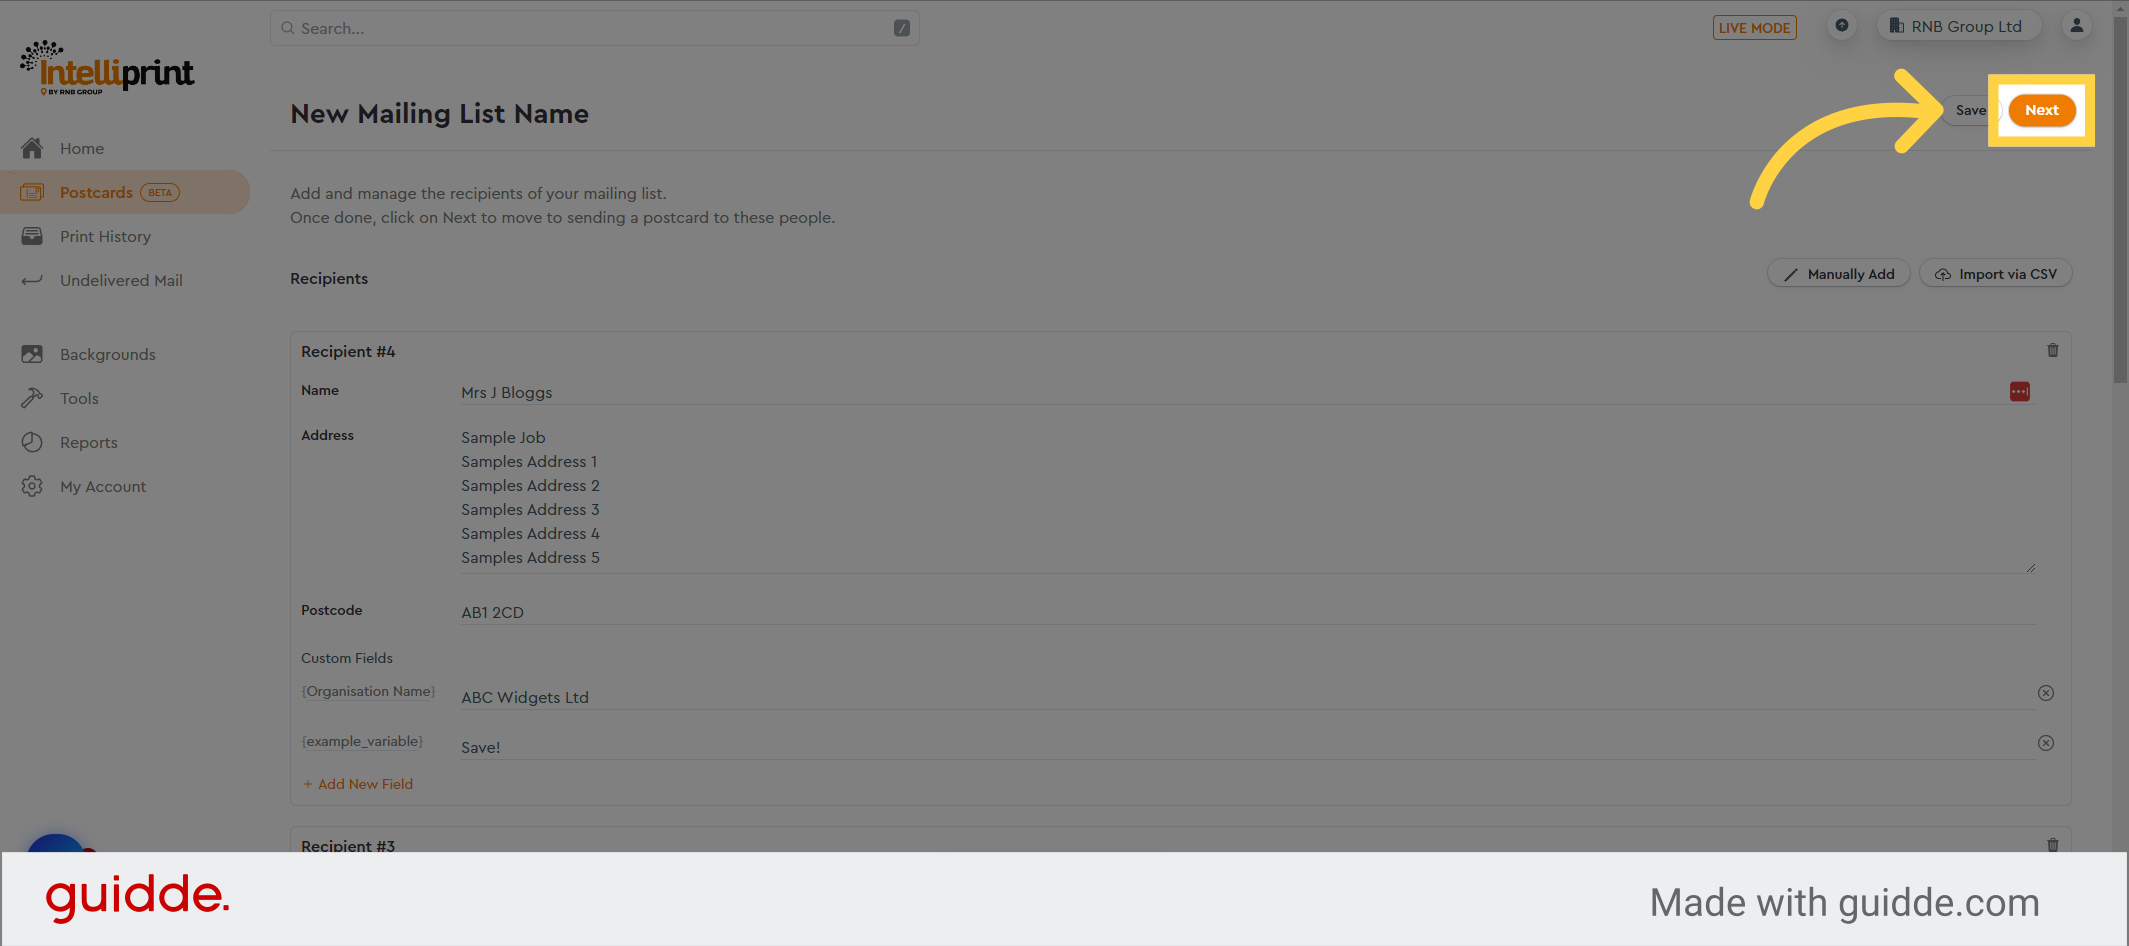
14. Click “Next”
Once your mailing list is prepared, click on “Next” to proceed with the postcard design process or to choose a pre-existing postcard design.
This guide covered the steps required to create a postcard mailing list in Intelliprint using a CSV file.
