


Marketing automation
Mailchimp
Trigger postcards and letters from Mailchimp automations via a single webhook to the Intelliprint API.
What it does
How Mailchimp works with Intelliprint.
Mailchimp automations already handle your email sequences — welcome series, abandoned cart, re-engagement. Adding a webhook step lets the same automation send a physical postcard or letter to contacts who never open email, without leaving Mailchimp or building a separate system.
Connect it with a webhook action inside any Mailchimp automation workflow, pointed at the Intelliprint API. Set the HTTP method, destination URL, and a Bearer token for authentication, then map Mailchimp merge fields into the request body. No separate app, no per-automation fee.
Mail lands three to five working days later. Intelliprint creates each piece as a draft by default, so you can preview before switching an automation to live.
Common use cases
What teams build with Mailchimp + Intelliprint.
- Send a postcard to subscribers who haven't opened an email in 30 days (via webhook)
- Trigger a welcome letter when a new contact joins an audience (via webhook)
- Post a thank-you card after a purchase automation completes (via webhook)
- Send a win-back postcard to contacts re-entering a re-engagement automation (via webhook)
Set-up
Get connected in 5 steps.
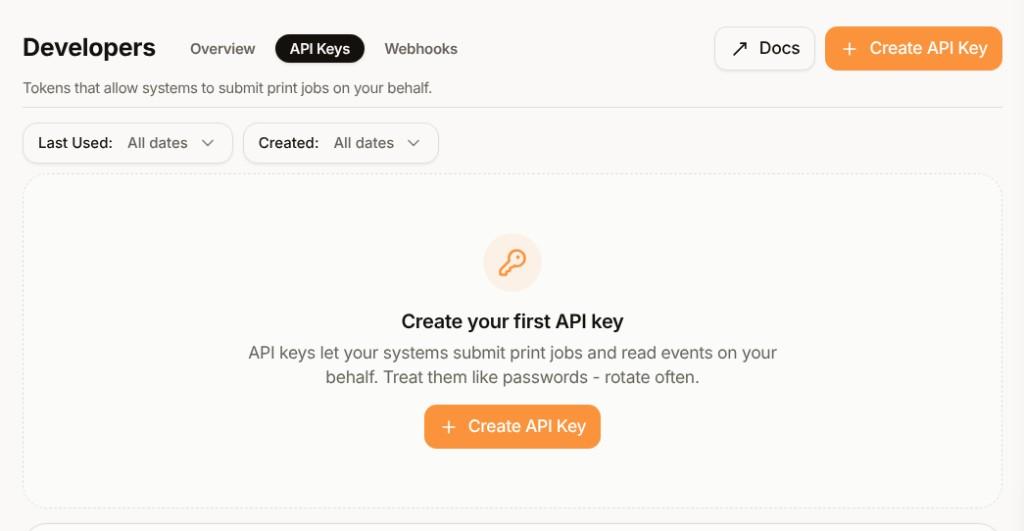
Get an Intelliprint API key
Create a key in the Developers → API Keys section of your Intelliprint dashboard. Keys are shown once when created — store it securely.
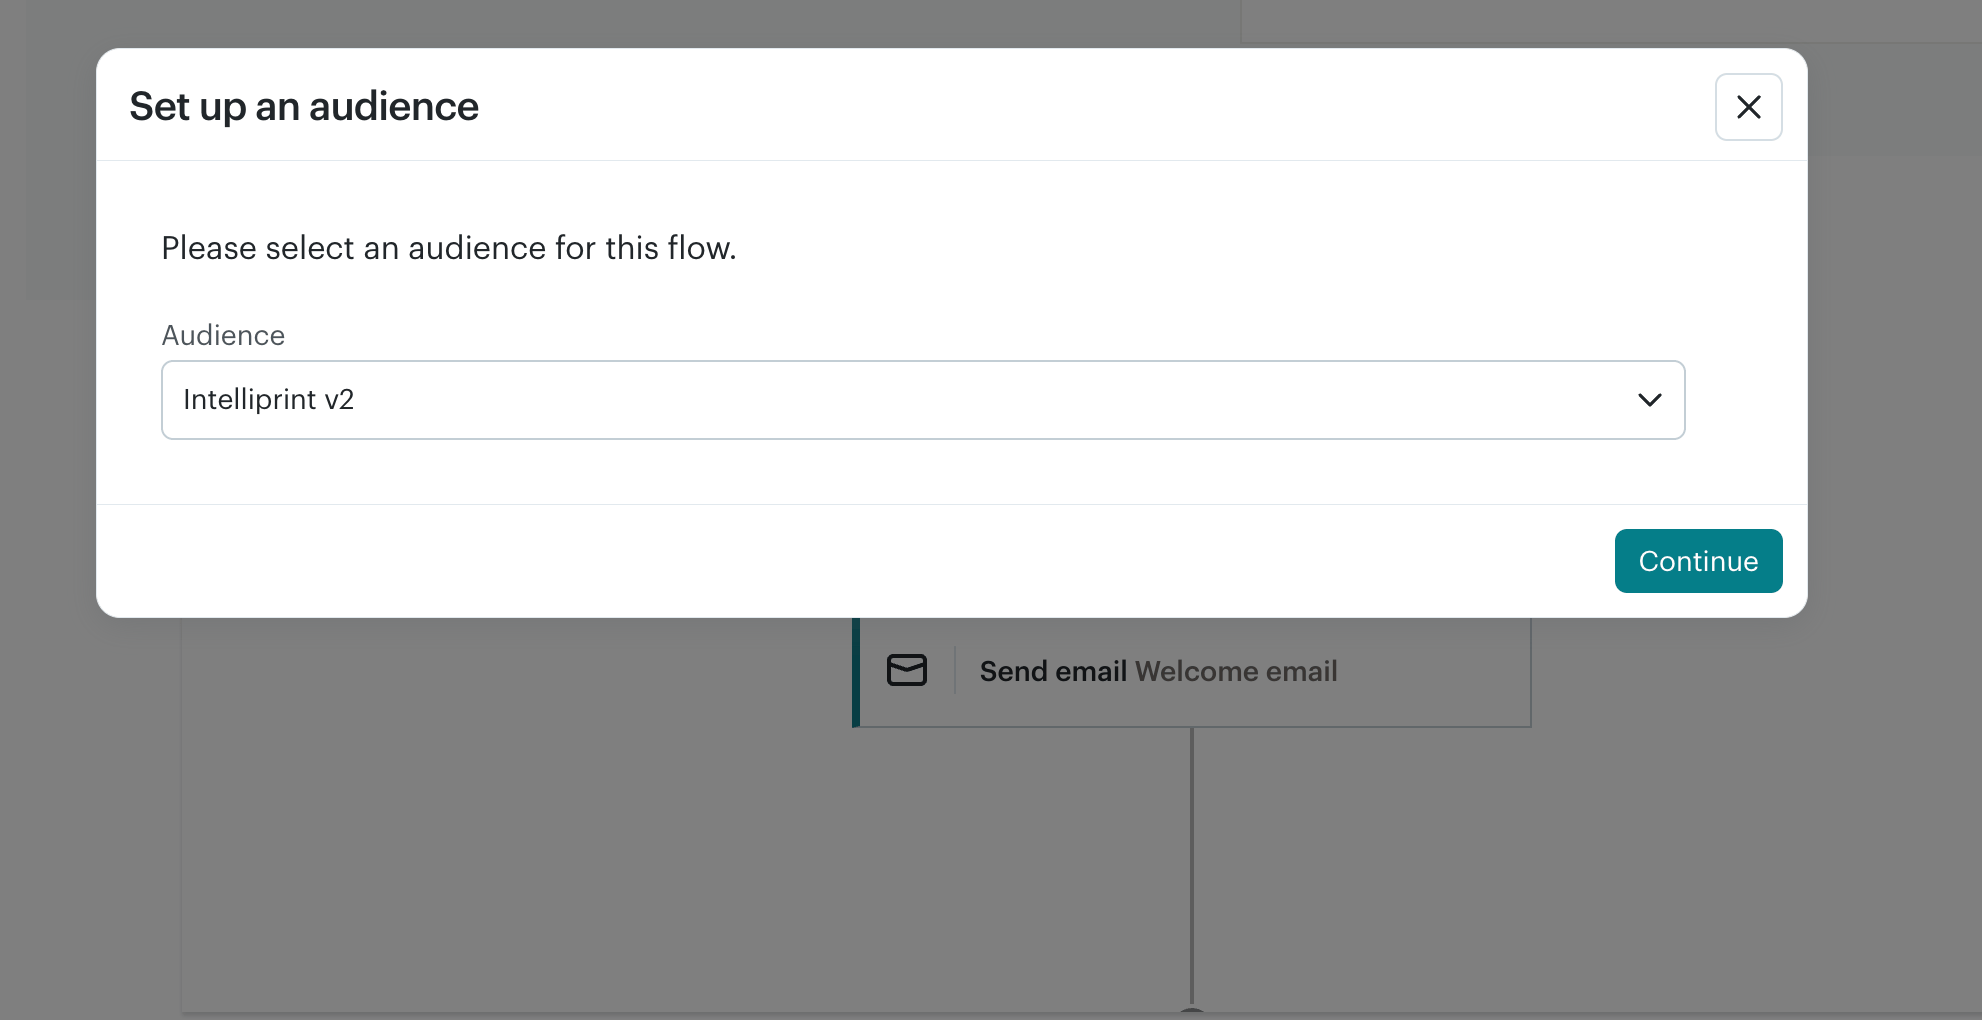
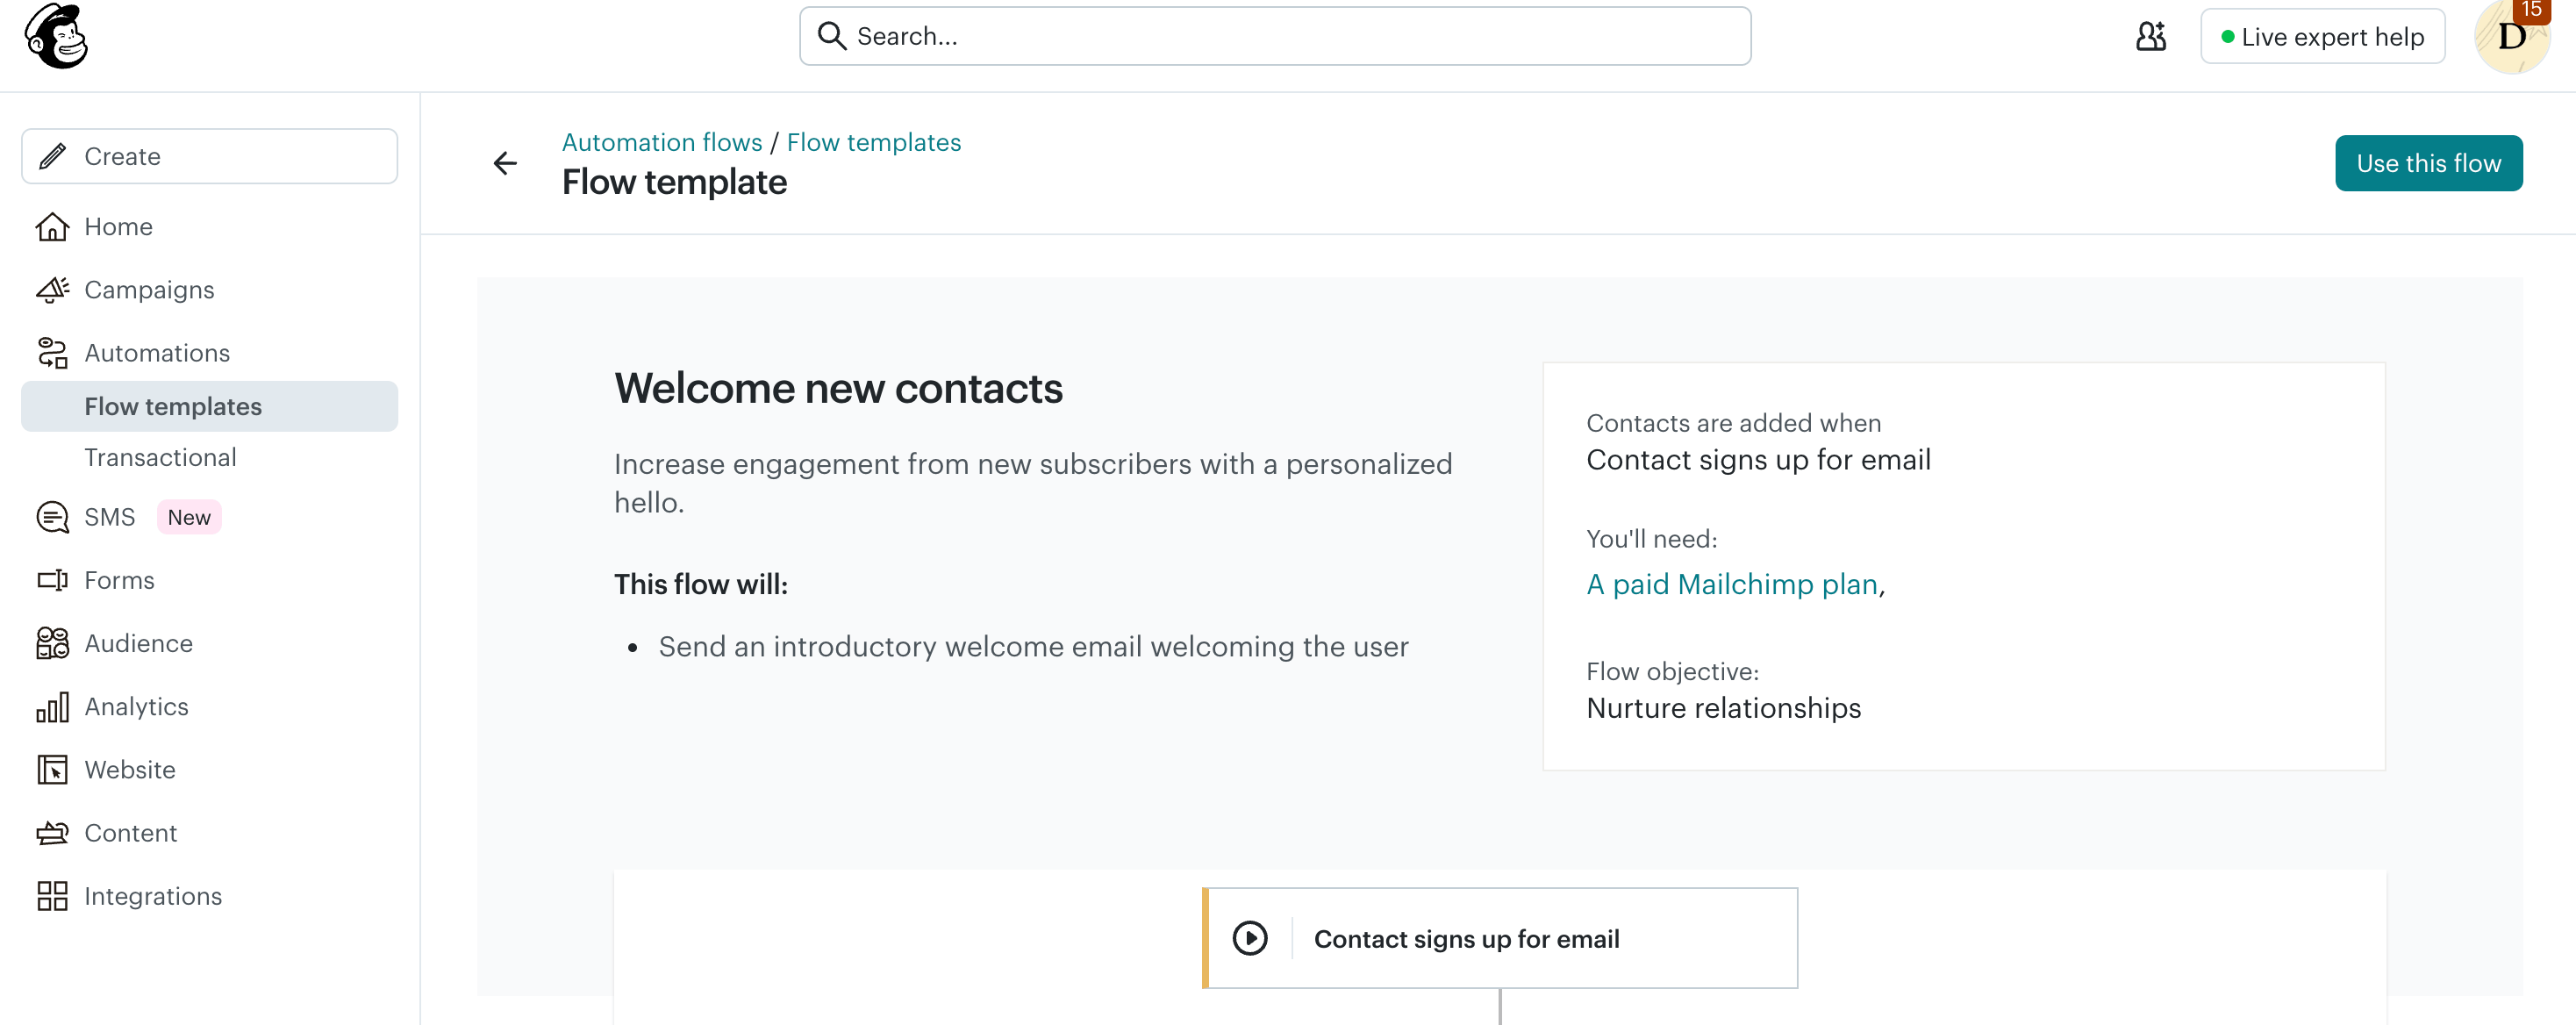
Select or create an automation
Choose an existing automation workflow or create a new one based on the trigger event you want, then select the audience for that flow.
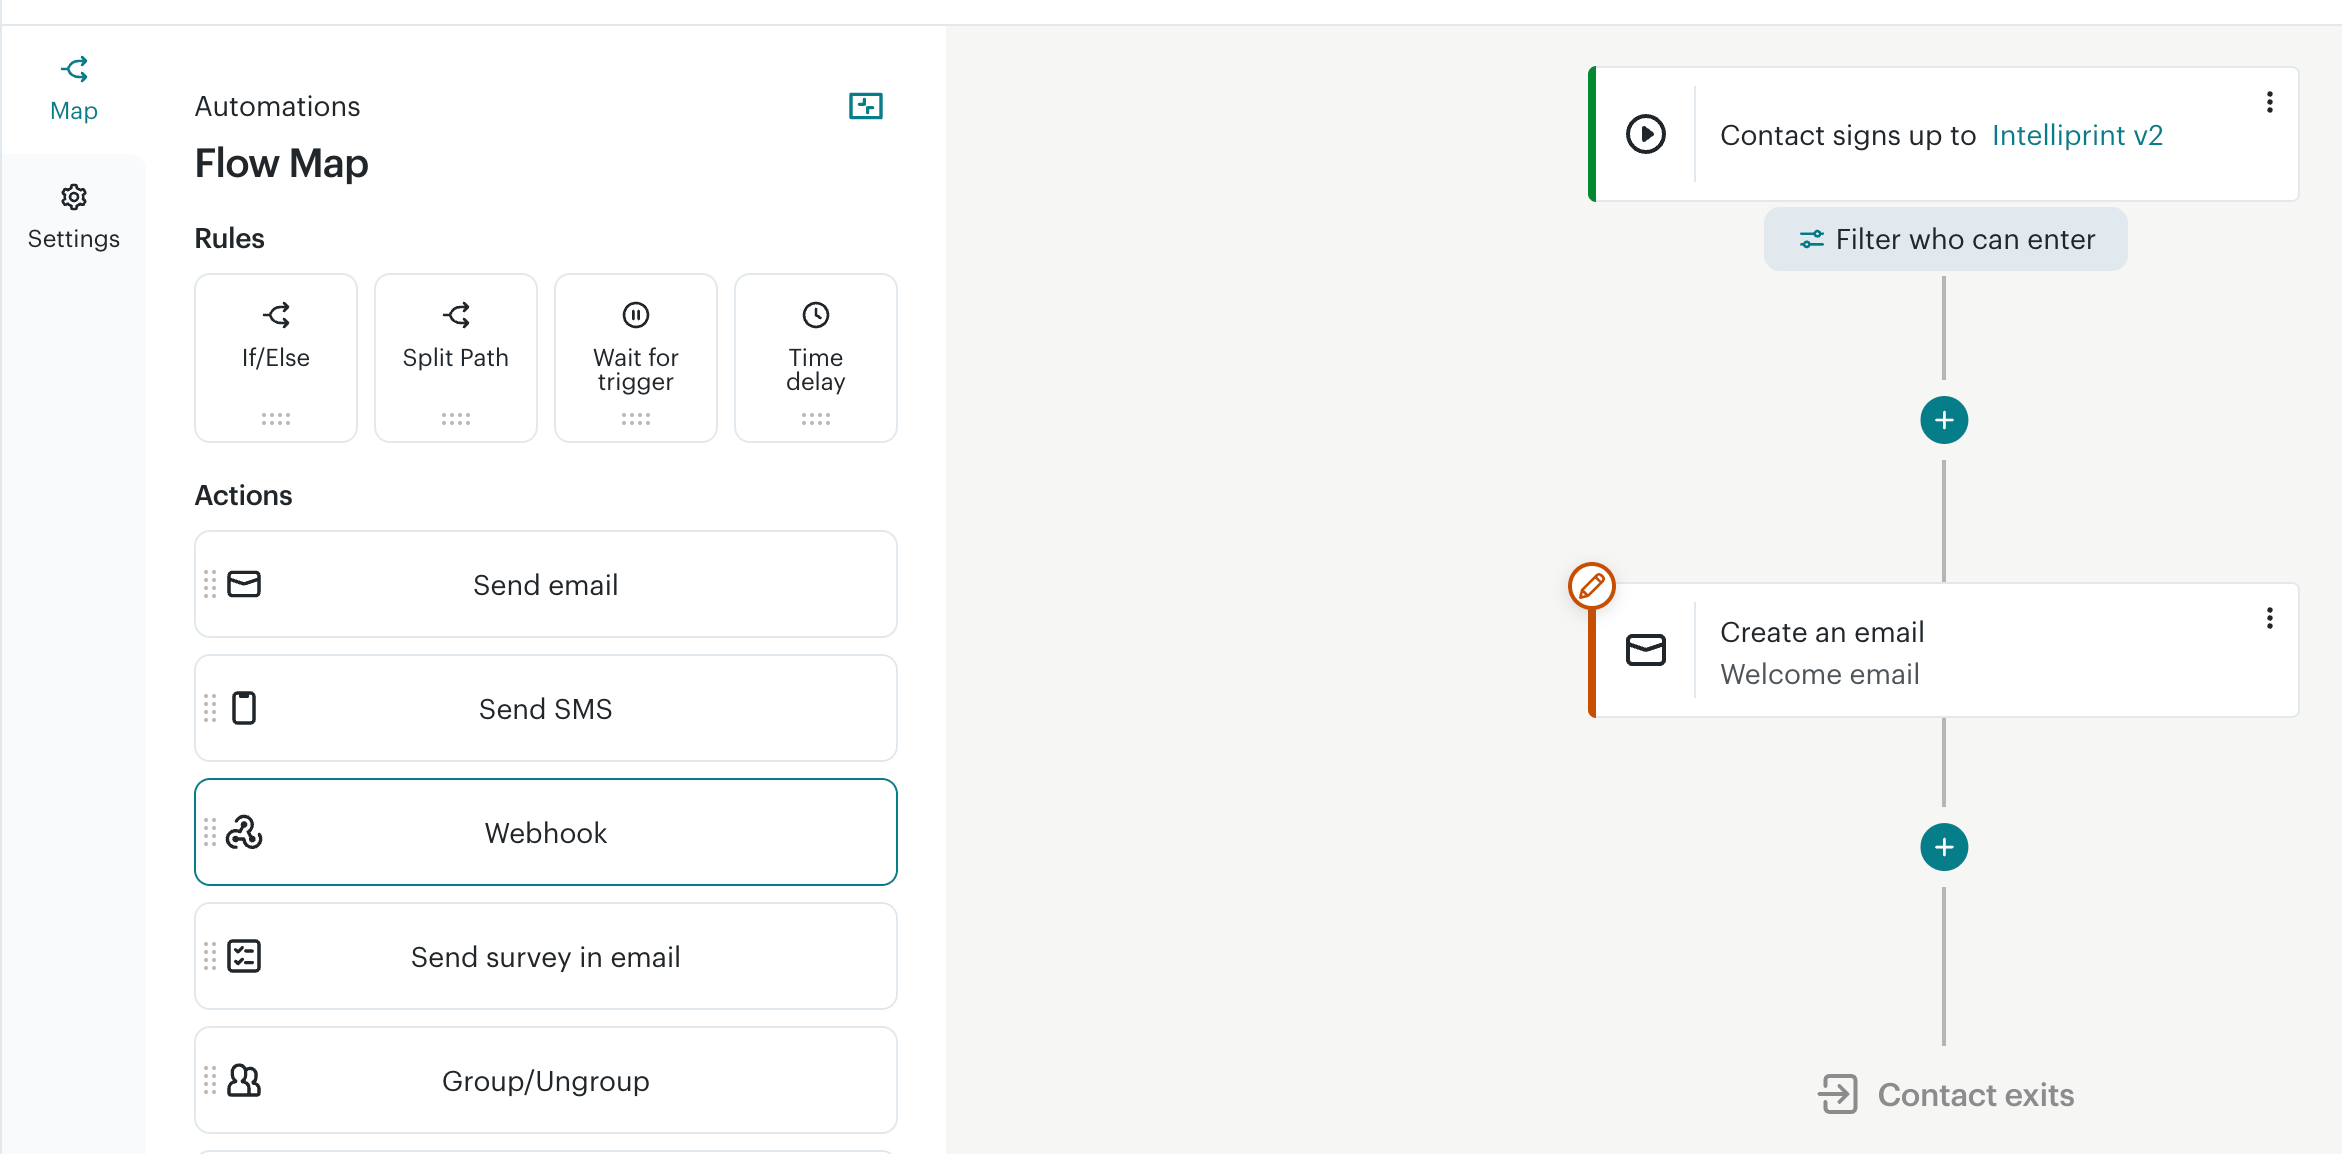
Add a webhook action
Within the workflow editor, click + to add a step, then choose the webhook / external request action to configure an outbound HTTP request.
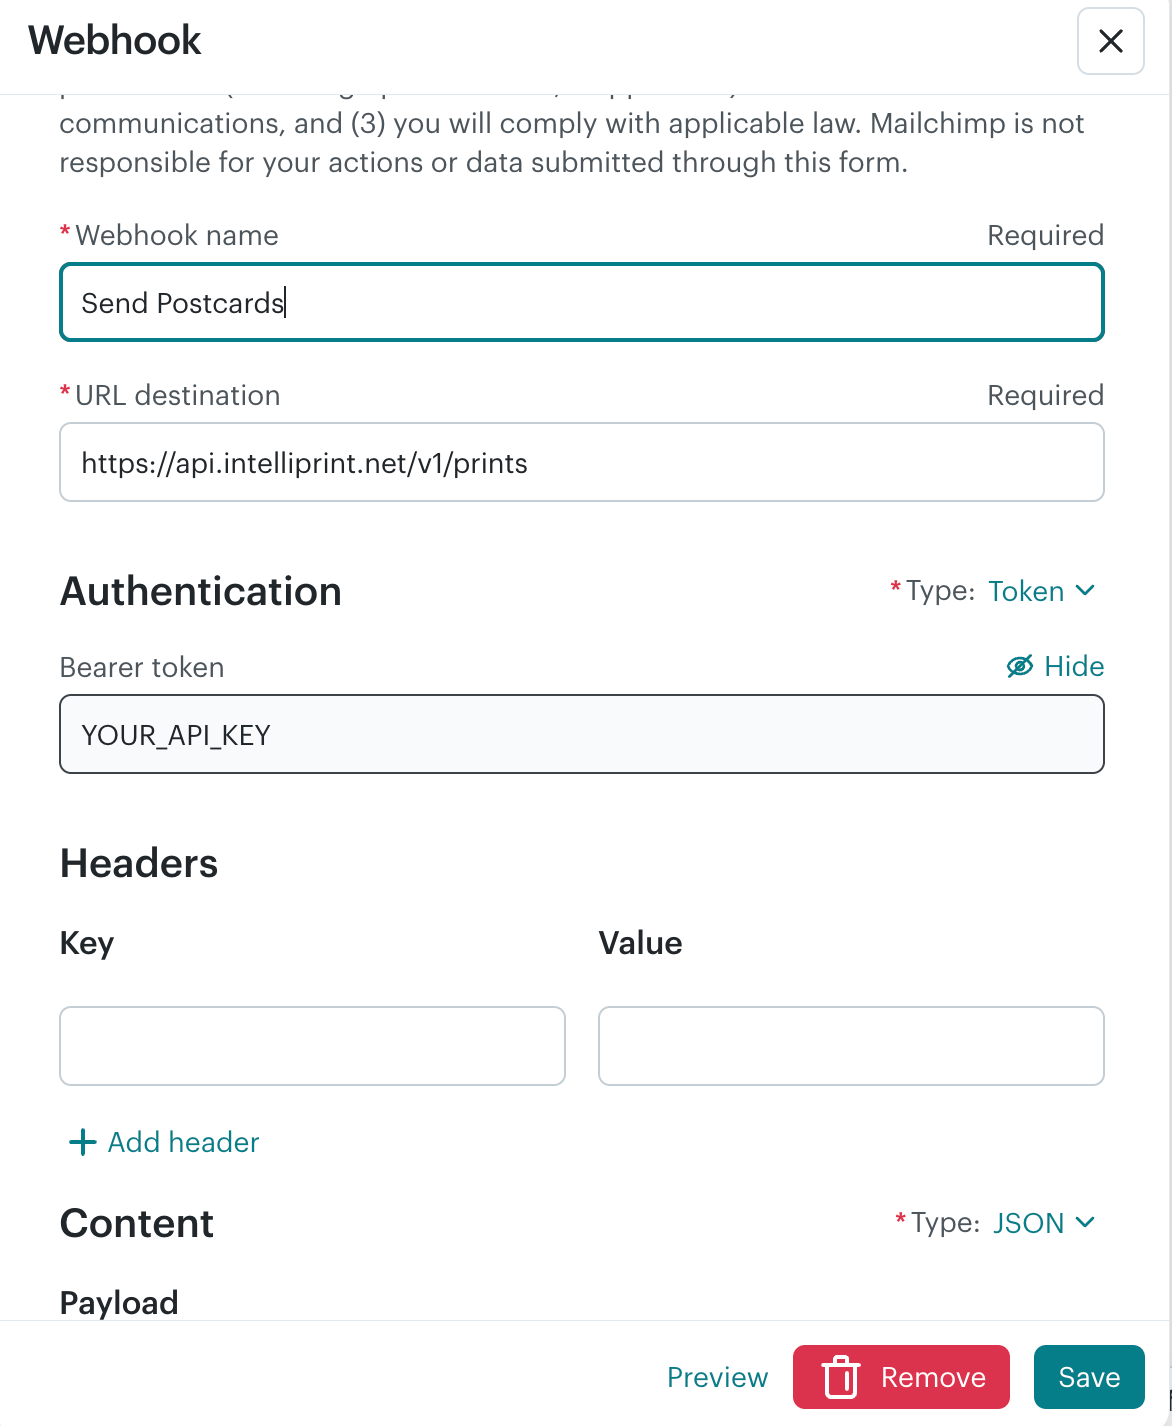
Configure the webhook action
Set the method, destination, auth, and body.
Set the HTTP Method to POST, the Destination URL to https://api.intelliprint.net/v1/prints, and choose Bearer as the token type with your Intelliprint API key. Then build the JSON body, using variables from Mailchimp to populate recipient and template fields:
Example JSON bodyJSON{ "testmode": false, "confirmed": true, "template": "YOUR_TEMPLATE_ID", "recipients": [ { "address": { "name": "John Doe", "line": "123 Main Street, Anytown, Anyplace", "postcode": "AB1 2CD", "country": "GB" }, "variables": { "salutation": "Mr." } } ] }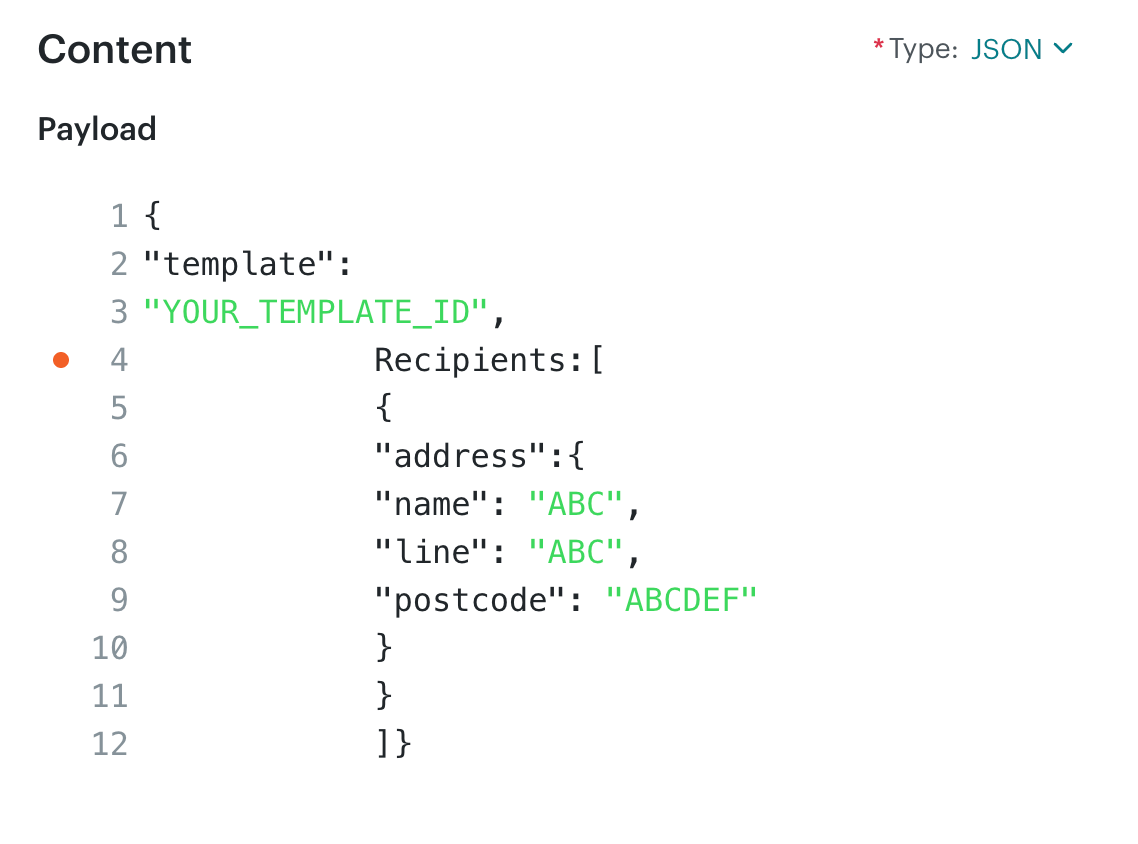
Save and enable the automation
After completing the webhook configuration, save the automation and enable it. Ensure your Intelliprint account has enough balance to cover the print job, or use pay-later billing.
Ready to send mail from Mailchimp?
Free to start. No setup fees, no minimum order.