


Ecommerce
Shopify
Trigger postcards and letters from Shopify orders — one Shopify Flow webhook, no Zapier required.
What it does
How Shopify works with Intelliprint.
Shopify merchants spend heavily on acquisition. Direct mail is one of the cheapest ways to bring customers back — abandoned carts recovered with a personal postcard, first-time buyers welcomed with a thank-you letter, VIPs reactivated with a handwritten-style note. The shift from email-only retention to multi-channel changes the economics of CLV meaningfully.
One route handles everything today: Shopify Flow's Send HTTP Request action, pointed at the Intelliprint API. Build a Flow triggered by an order event — abandoned checkout, order created, customer created — and add an HTTP request step that calls Intelliprint directly. No middleware, no per-automation cost, and it covers letters, postcards, and direct mail from the same workflow.
Recipient data — name, shipping address, order total — comes straight from the Shopify order, mapped into the request body inside Flow's editor.
Common use cases
What teams build with Shopify + Intelliprint.
- Abandoned cart postcards for carts over a threshold value (via webhook)
- Welcome letters to first-time buyers with a product recommendation (via webhook)
- VIP re-engagement postcards for lapsed customers (via webhook)
- Physical thank-you letters after review submission (via webhook)
- Order-confirmation letters for customers without a reliable email address (via webhook)
Set-up
Get connected in 4 steps.
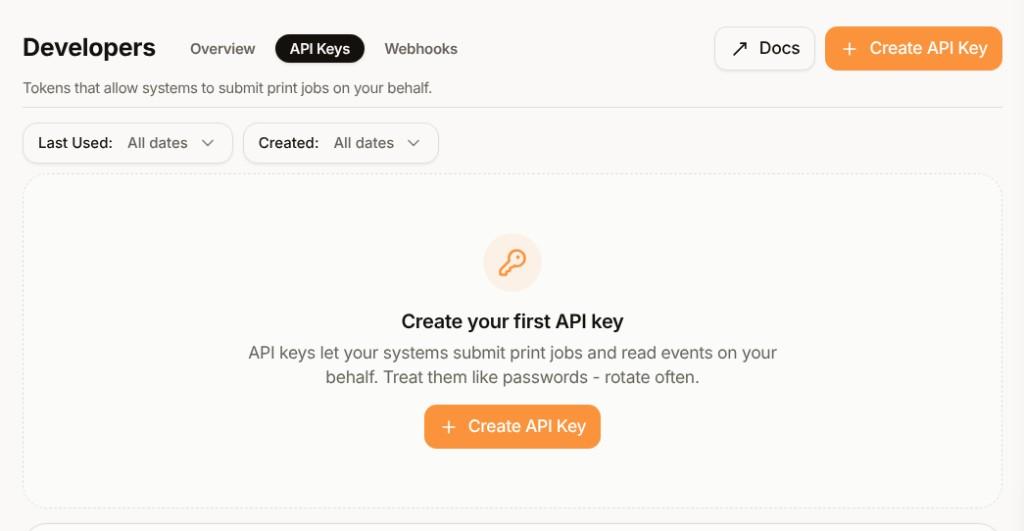
Get an Intelliprint API key
Create a key in the Developers → API Keys section of your Intelliprint dashboard. Keys are shown once when created — store it securely.
Create a Shopify Flow workflow
Configure the trigger, then add a Send HTTP Request action. You may need the free Shopify Flow app from the Shopify App Store.
Navigate to Shopify Flow within the Shopify Admin dashboard, select Create workflow, and configure the desired trigger based on the event that should start the automation:
After configuring the trigger, click the + icon beneath it to add an action:
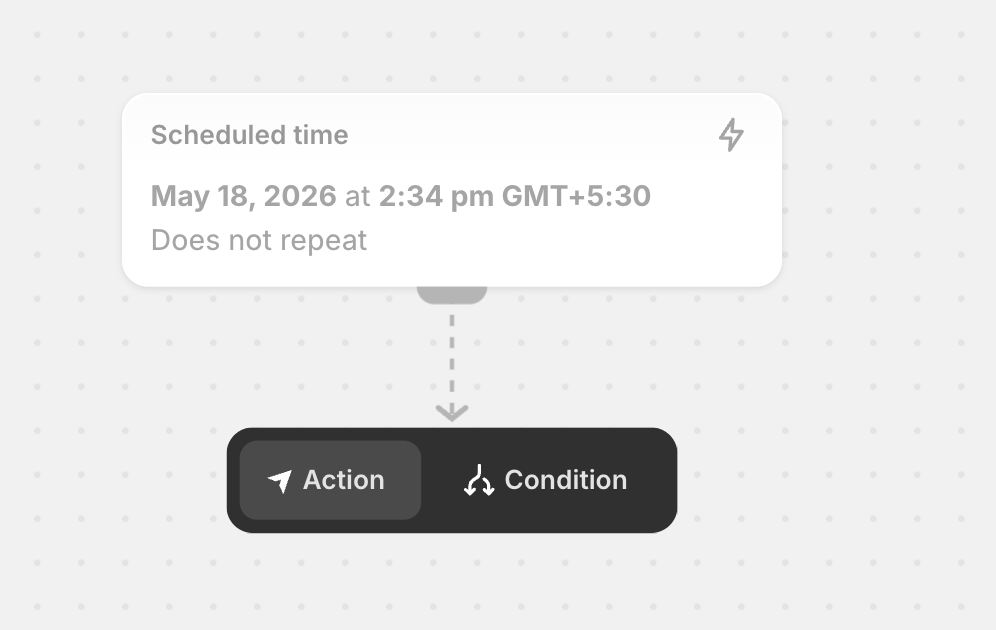
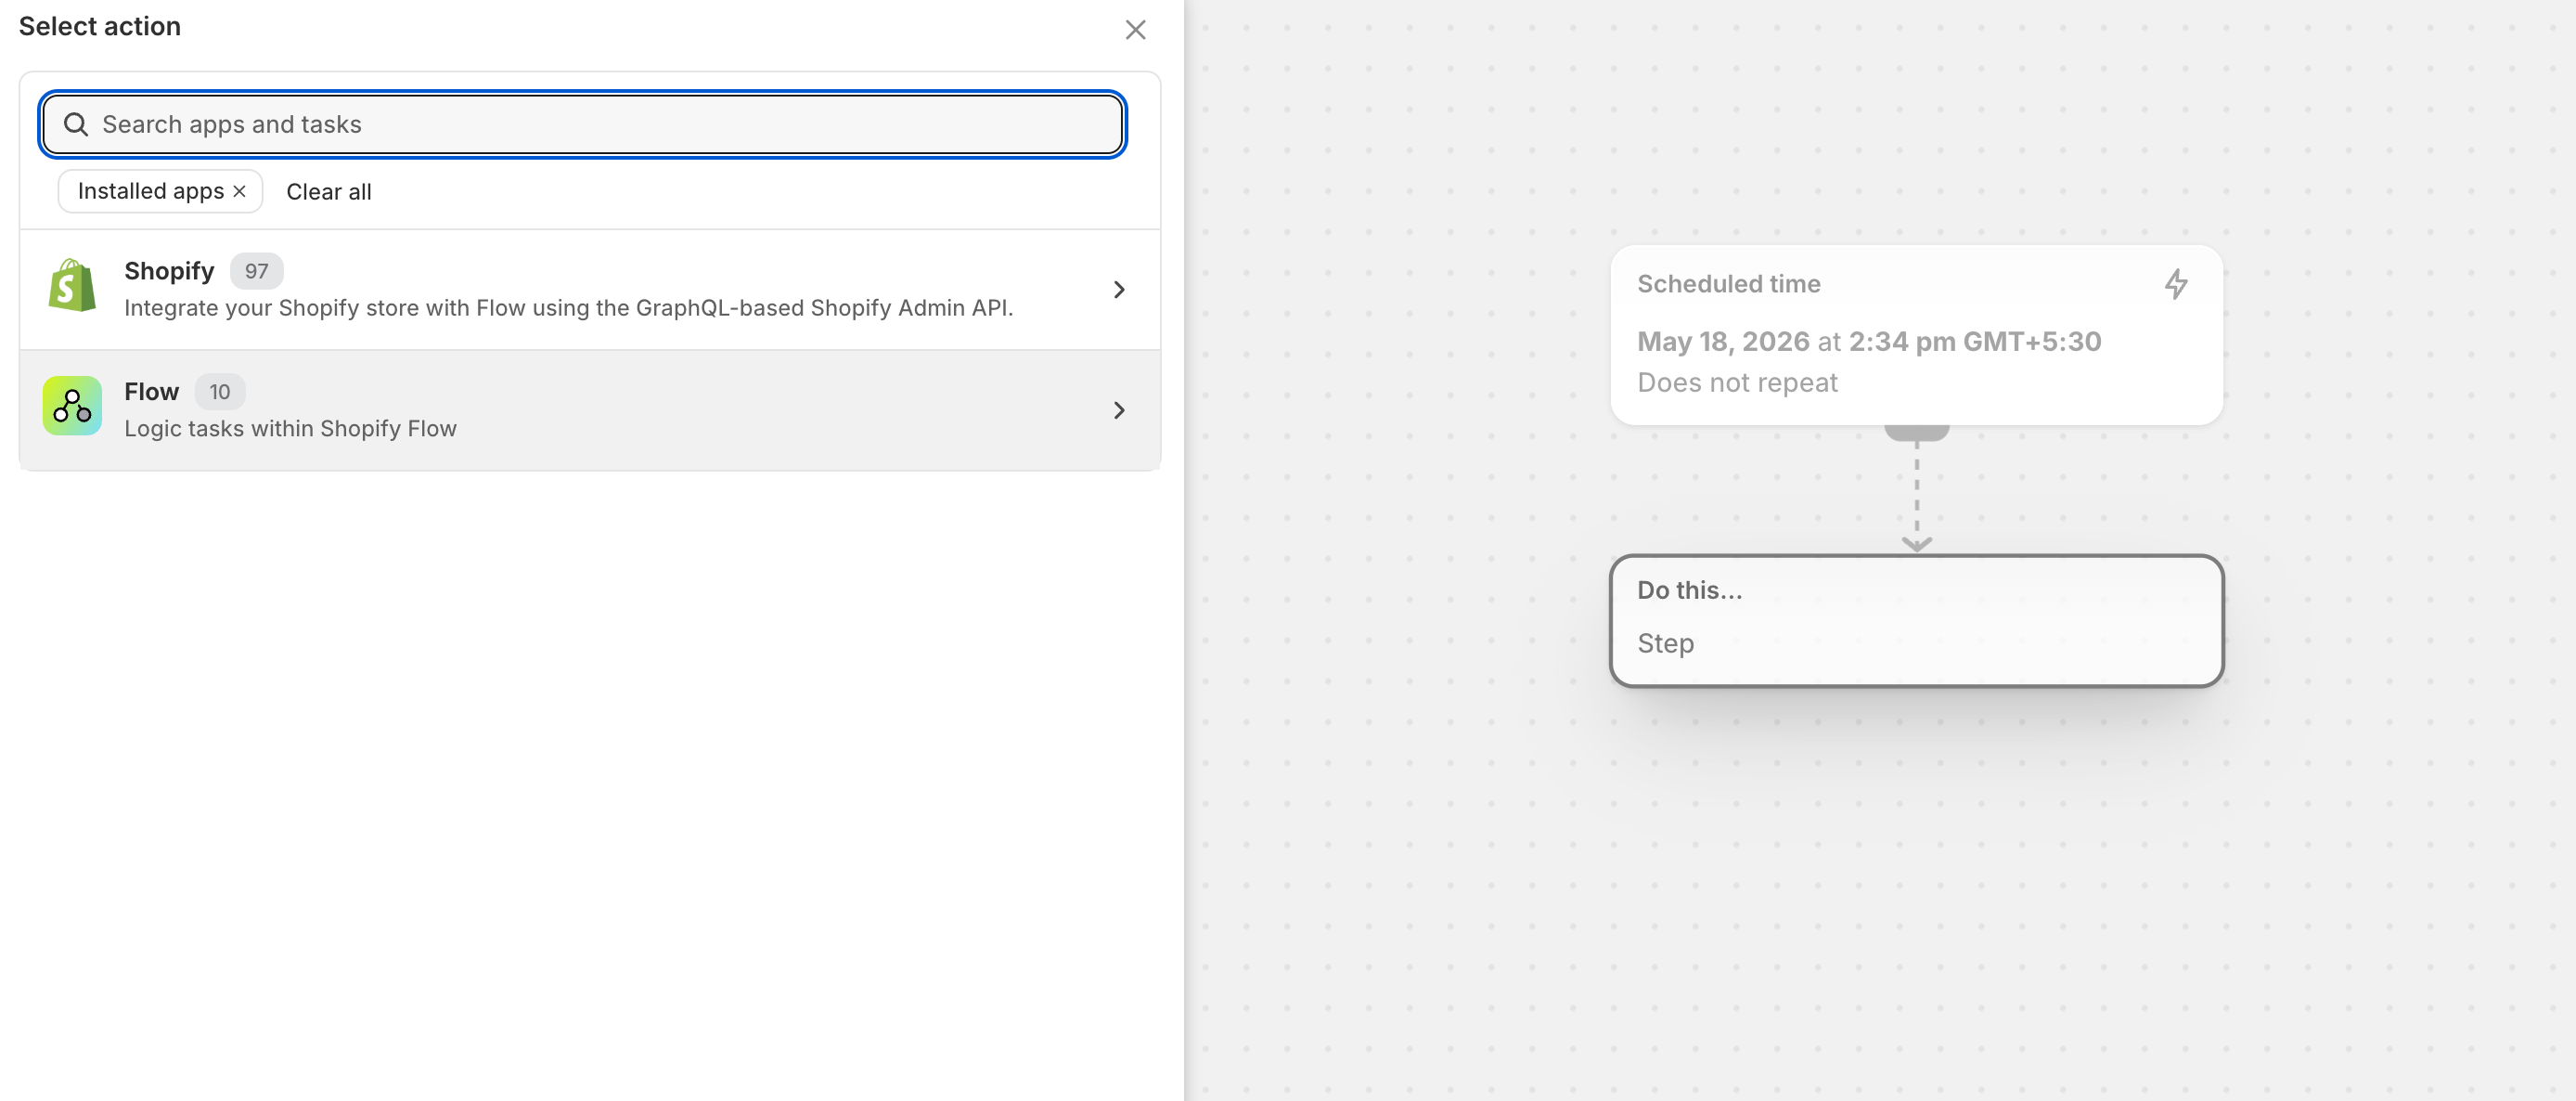
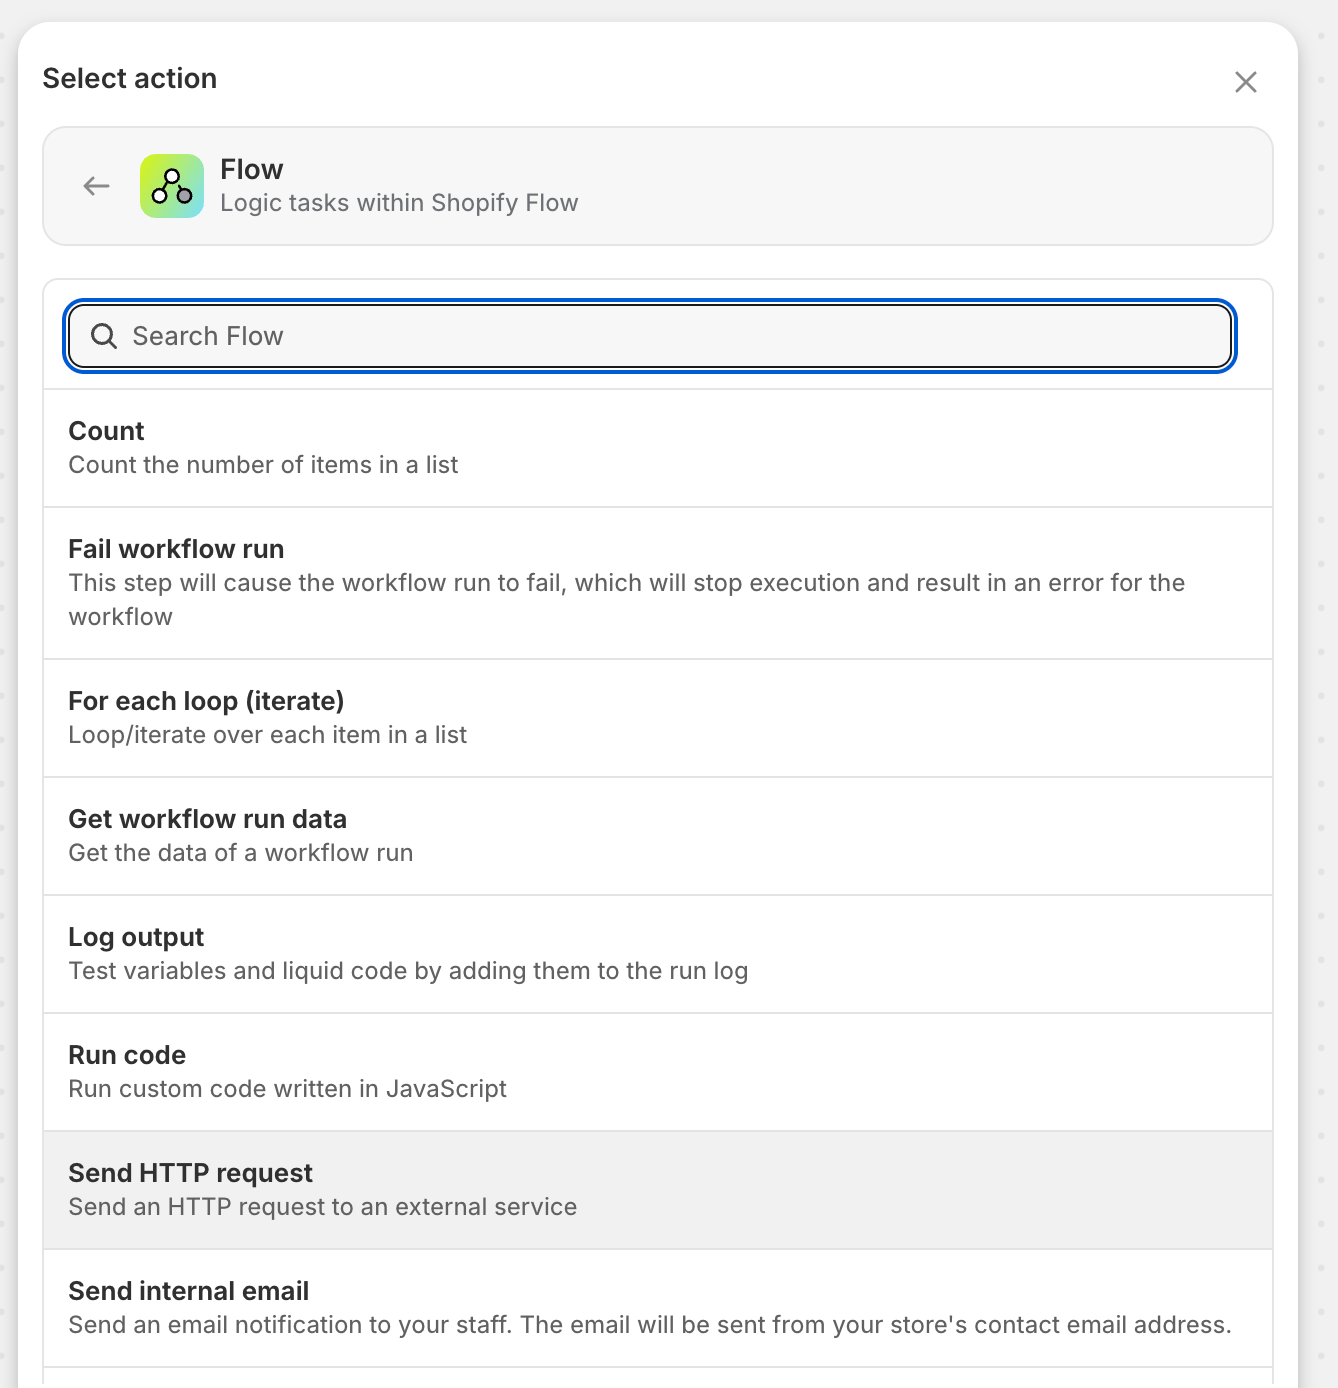
Select Action, then choose the Flow category and pick the Send HTTP Request action:
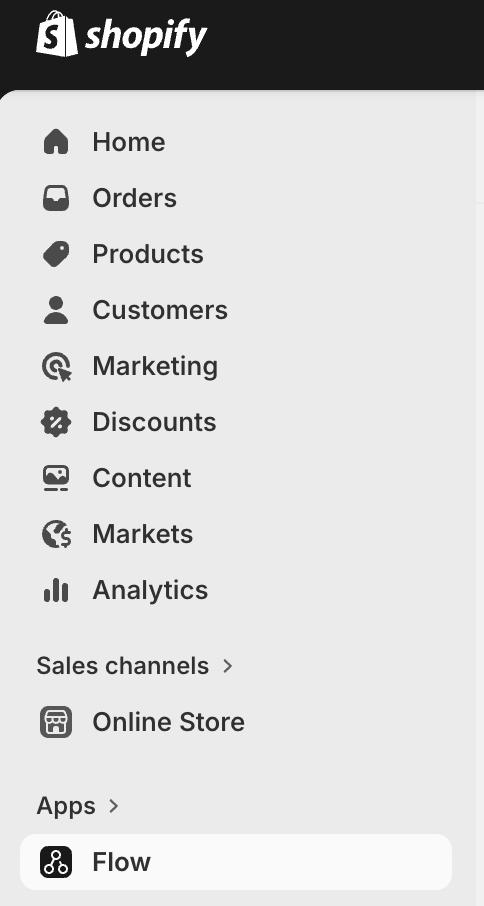
Configure the HTTP Request action
Set the method, destination URL, header, and JSON body.
Set the HTTP method to POST, the URL to https://api.intelliprint.net/v1/prints, add an Authorization header with your Intelliprint API key, and build the JSON body from the order data:
Example JSON bodyJSON{ "testmode": false, "confirmed": true, "template": "YOUR_TEMPLATE_ID", "recipients": [ { "address": { "name": "John Doe", "line": "123 Main Street, Anytown, Anyplace", "postcode": "AB1 2CD", "country": "GB" }, "variables": { "salutation": "Mr." } } ] }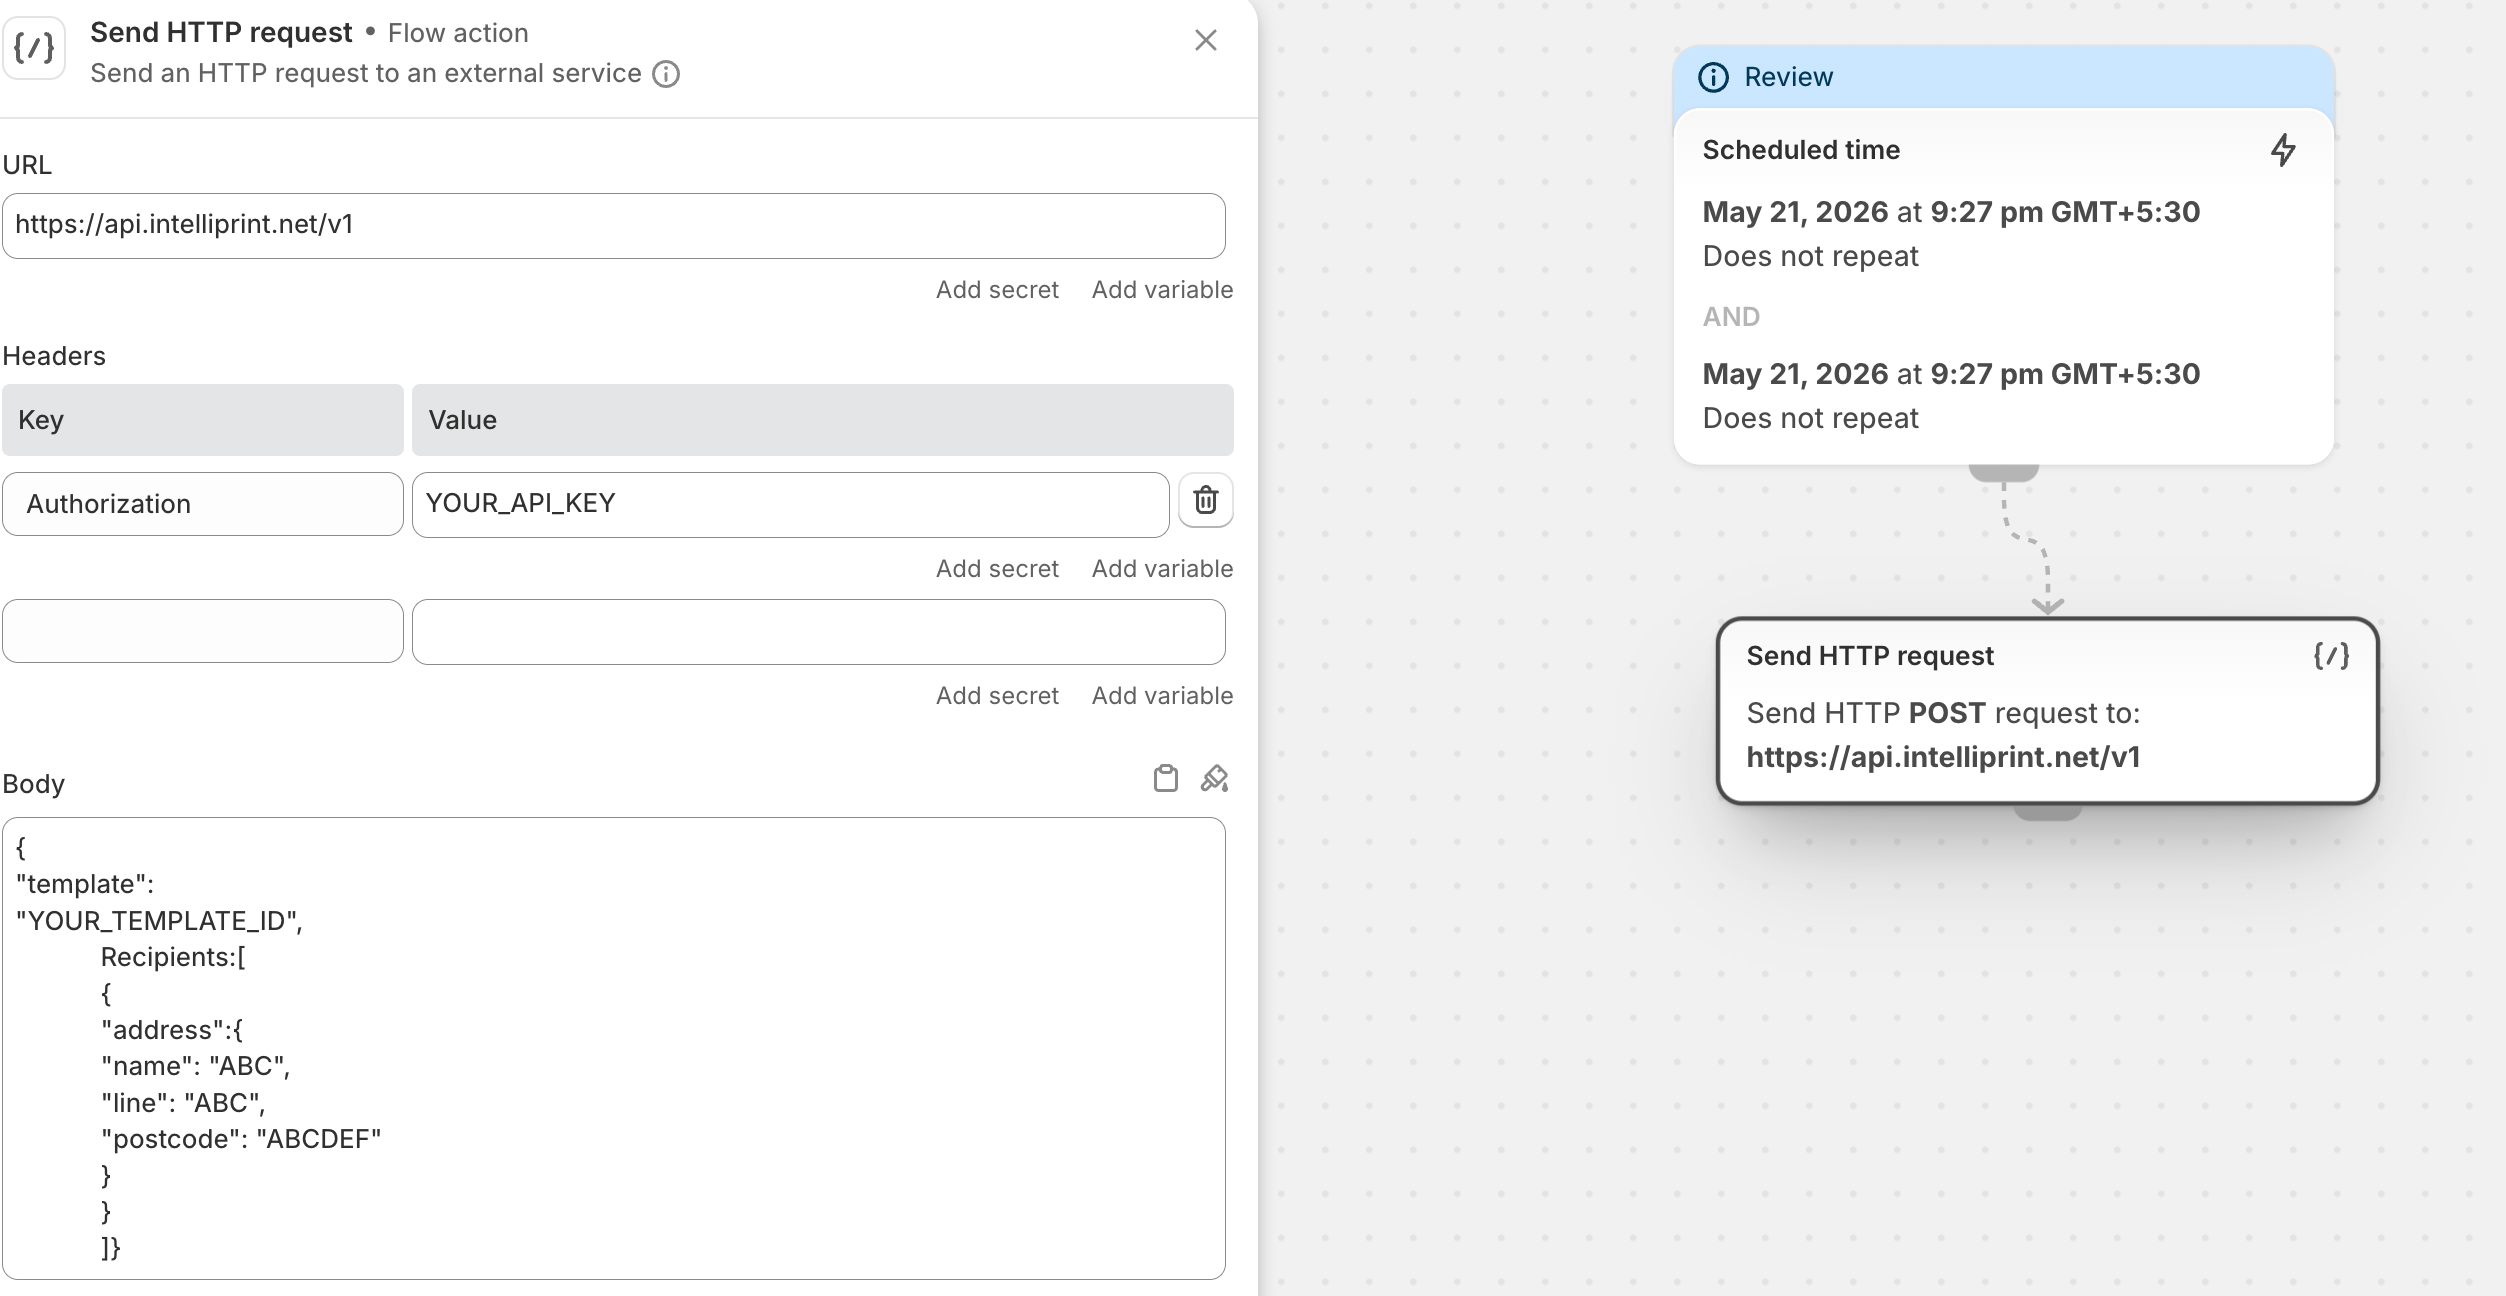
Save and test the workflow
Save the workflow and ensure everything works as expected with a real small order before enabling it live.
Ready to send mail from Shopify?
Free to start. No setup fees, no minimum order.